

We continue to work with junior members of the STEAMShip crew to help realise their creative ambitions. This project was a year 8 music homework assignment to create a diagram of an orchestra, showing the various sections – strings, woodwind, brass and percussion.
In true STEAMShip style our crew member, Lois, wanted to make something with a bit more impact using STEAM ideas like multimedia and electronics. An early plan was to have buttons on the diagram which would light up to illustrate the various sections within the orchestra. After discovering the classical music piece by Sir Benjamin Britten entitled “A Young Persons Guide To The Orchestra” it was decided to make the work more sound-based. Using separate tracks which showcase music played by the individual orchestral sections.
Lois researched diagrams and designed an appropriate version for a box of suitable size. The box also needed to house the necessary components, display the diagram and have enough room to incorporate touch-based controls for user interactions.
Adding A Sense Of Touch
She investigated a number of ideas for the touch controls such as push button switches but wanted to keep the construction as straightforward as possible using fewer components to reduce the chances of failures. The final work would have to be carried to school in a bag so less components and connections meant there was less chance that parts could break, fall off, come apart or generally fail whilst being carried all the way to school on foot.
More simple touch controls can be created using surface materials such as conductive paint, metal strips, conductive thread and copper tape. Lois experimented with a few options such as ink and copper tape while planning how the electronics components would fit inside the box and also how they connect to the touch controls. As the connections would have to go through the surface of the cardboard box she finally settled on using conductive thread. This can be easily woven through holes into the cardboard and back to the contact points. Each touch area has two small holes inside on the surface of the diagram so the thread pushes out through one hole and passes along a small length of the surface of the box where it passes back through to the inside. The other ends of the thread were carefully taped down and tied to the contact point on the micro-controller board. Each length of thread was kept separate from the other to ensure there were no short circuits between the touch controls.
Unfortunately, she kept getting inconsistent results with five lengths of thread connected. When one or two lengths were used the system worked fine but trying to use five at the same time would not trigger the controls correctly. We couldn’t work out if this was the threads being too close together or the design of our layout causing some other issue but Lois did check that all the threads, when taped down, were not touching in any way. Capacitive touch technology can be more sensitive to elements being too close together as the technology can also sense when you are near to the material, not just making physical contact. This may have contributed to the inconsistent results.

A close up image of the simple touch controls designed using conductive thread
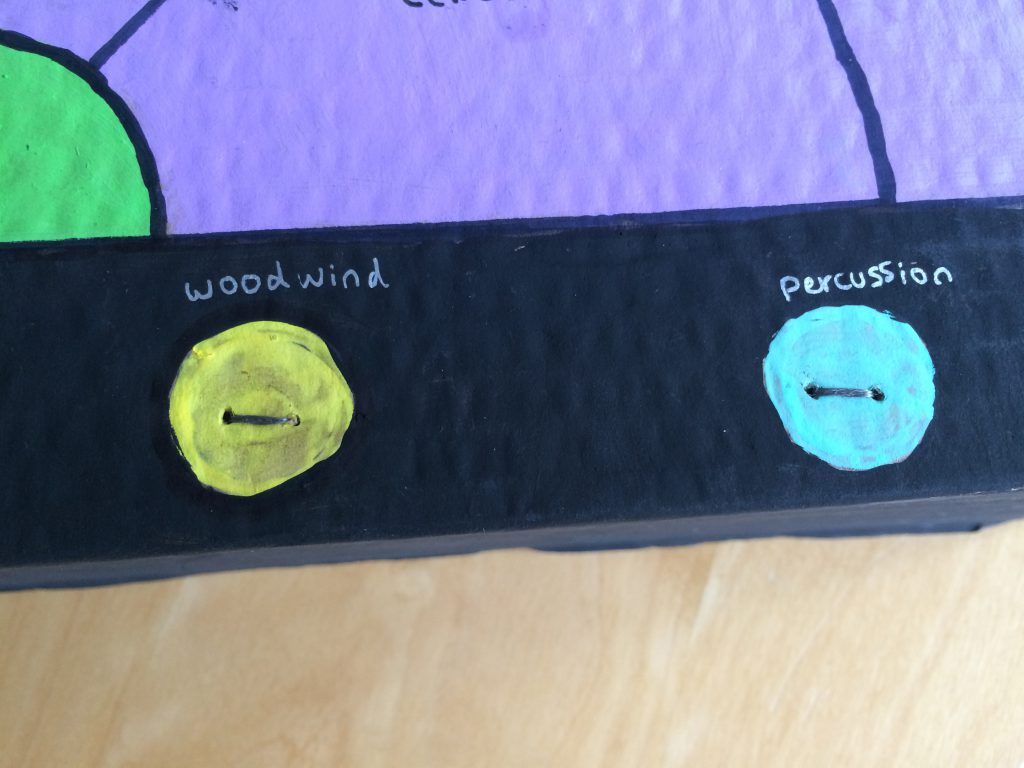
A few more examples of how the conductive thread buttons work on the painted interface.
On To Plan B!
The thread worked well as a touch point. Keeping a small length of thread passing through the holes and on the inside of the box, adhesive copper tape ran from the board to the thread. This worked perfectly, phew!
At last, a working control system. One switch for each of the four individual orchestra sections and a fifth for an audio file in which all the sections of the orchestra play together. This is triggered by touching the conductor area of the diagram.
Adding More Oomph! Amplifying The Audio To Give A Greater Sense Of Theatre
Our simplest option for adding sound to the project is the headphone port on the Bare Conductive Touch Board. Adding a pair of headphones whilst prototyping everything was very helpful. To add more oomph to the experience Lois then added a small stereo amplifier board and speakers. This really brought the whole thing to life. Having room filling audio coming out of a hand painted cardboard model, triggered by gentle finger touches made the whole work very evocative.
Making The Whole Work Portable
All of the micro-controller boards used on various projects with can be powered by a usb cable connected to a power adaptor or plugged into a computer. Some, like the Arduino Uno and Mega, have a power jack connector to which a nine volt battery can be connected using a simple adaptor cable. The Touch Board has its own JST socket and power regulation which means it can use standard 3.7v LiPo or Lithium Polymer rechargeable batteries. LiPo batteries are light and the smallest available models are very teeny making them ideal for our system. The smaller batteries hold less charge so they don’t run for as long but in our case the diagram doesn’t need to run continuously for long periods of time. The final battery used was a 105 mAh version.
Finding The Best Micro-Controller Board To Conduct Our Orchestra – Which Ones Have Suitable Audio Capabilities?
Some boards have fully media storage and playback capabilities, such as the Raspberry Pi. They are well suited to a project of this nature. However, some way to amplify the audio coming out of the Pi would be necessary. One option would have been to use a newer Raspberry Pi board like the Pi Zero W or Raspberry Pi 3 Model B+. On-board Bluetooth could then be sent a small portable bluetooth speaker.
The Arduino Uno and Mega are not able to play MP3 files out of the box and require a WAV or MP3 breakout or shield in order to provide you with more sophisticated audio playback capabilities.
The BBC micro:bit boards also do not have the storage or media handling capabilities to manage music playback to the level required for this project.
Adafruit make an excellent board called the Adafruit Audio FX Sound Board. It is a small and simple way to incorporate embedded sound into a project. Some models come with their own on-board amplifier so you can simply connect up a pair of appropriate speakers. Specific sounds are triggered by connecting the associated numbered pin to GND. File storage capacity is limited to a 2MB and 16MB model. This board came a close second in our experiments and we plan to build the project again using the Audio FX Sound Board to fully evaluate its potential.
The Bare Conductive Touch Board – Our Final Choice
None of the boards mentioned so far have on board capacitive touch sensing features. This would require even more expansion boards to be connected in order to provide the necessary functionality.
Which is why, for this project, the ideal micro controller board was the Bare Conductive Touch Board. It comes with out of the box MP3 playback, can store those MP3 files on an on-board MicroSD drive and as its name suggests comes with capacitive touch sensing.
The entire board has been designed for these highly creative, interactive projects. The large, adaptable, capacitive touch connectors down one side are designed for a wide array of conductive materials such as Bare Conductive’s very own conductive ink, wires, copper tape, conductive thread, crocodile clips, banana clips, the list goes on!
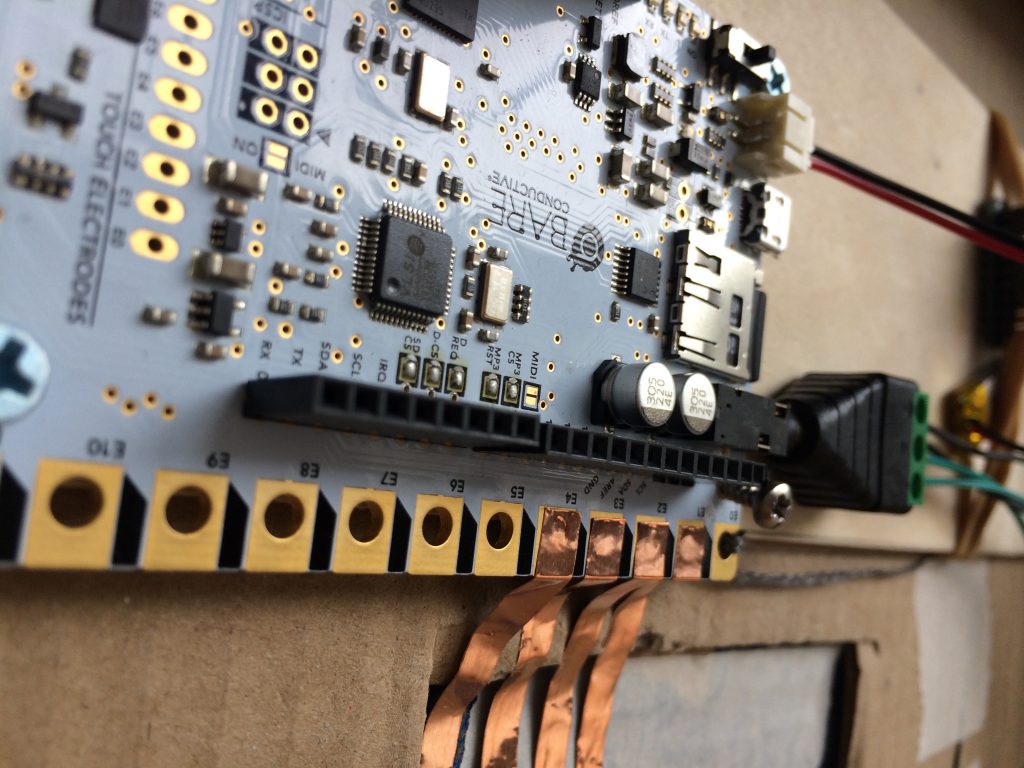
Copper adhesive tape used for the touch interconnects. You can see here how it can be surface mounted and also bent to interface with the Touch Board contacts.
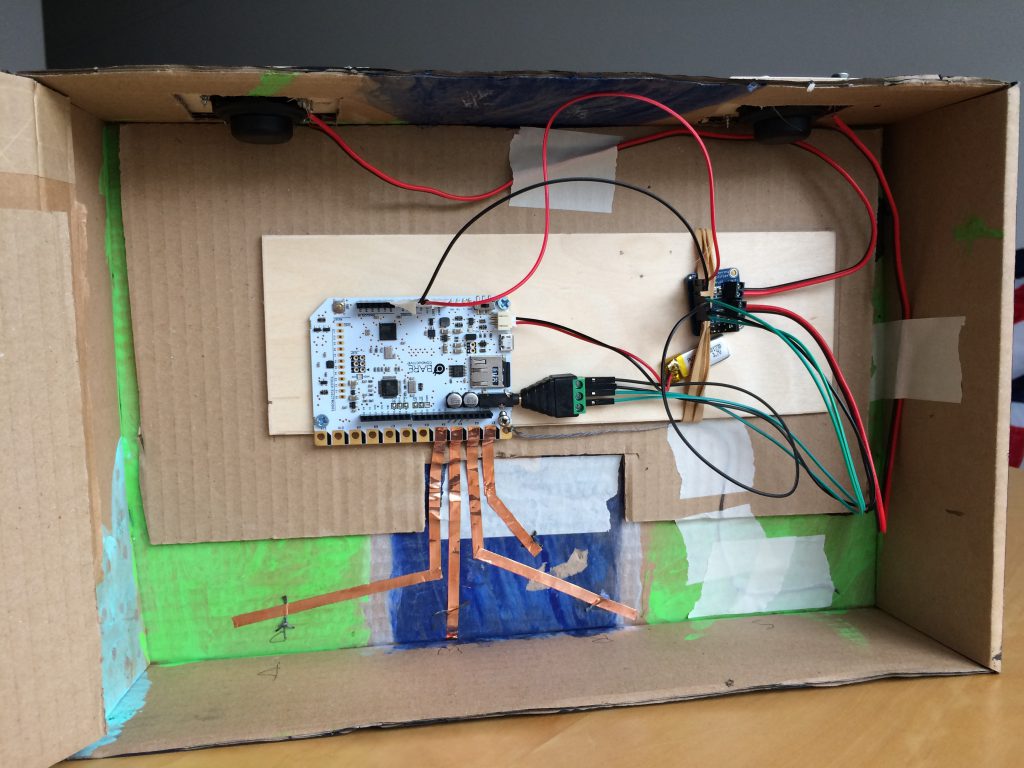
All the wiring exposed. The Touch Board, teeny LiPo battery, minuscule amplifier and speakers.
Ideas For Further Expansion Of The Work
There are plans to expand the work by adding LEDs and add servo motors to create little animatronic musicians. It would be great if little musicians in each orchestra section played in synch with their respective music.
The School’s Response
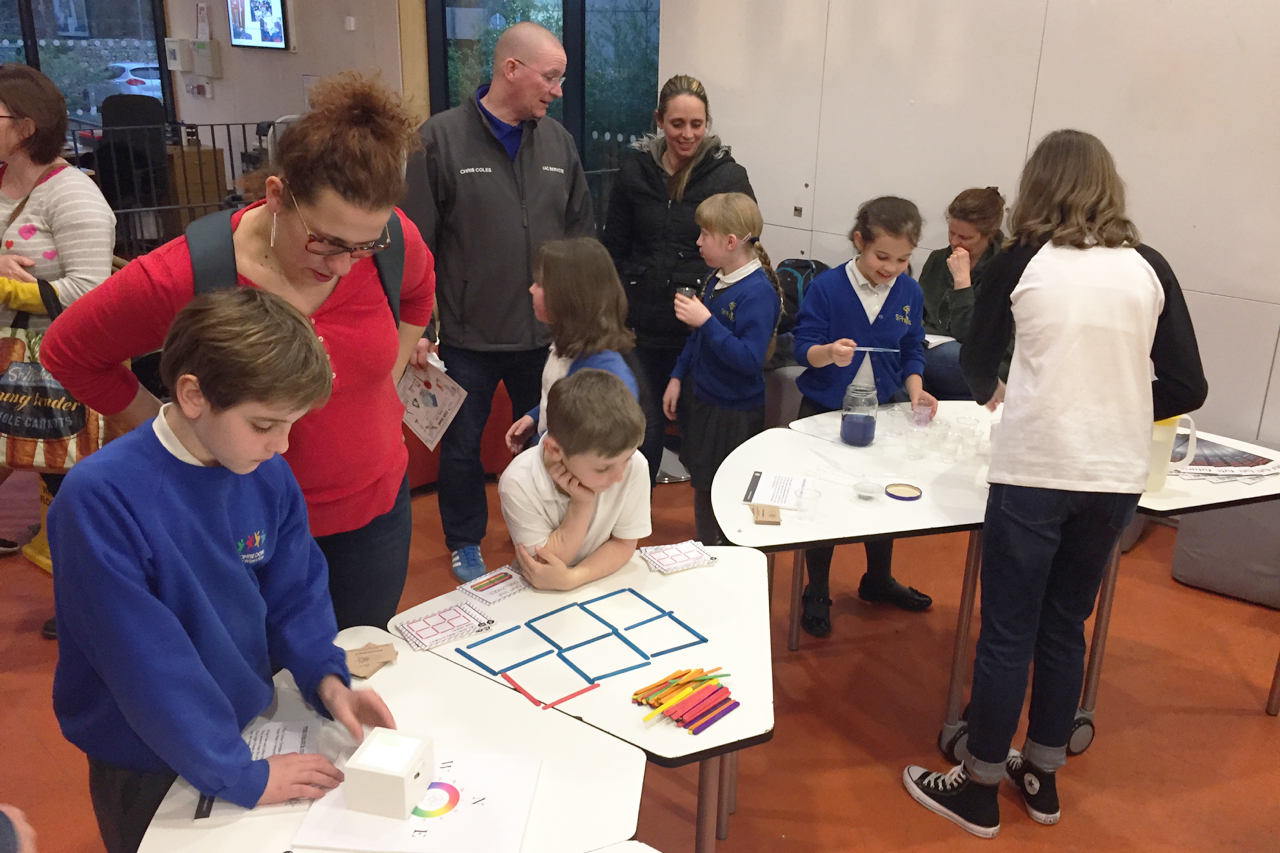
Lois reported back that all the teachers who had seen the homework were very impressed. The Headteacher even called Lois in for a meeting to tell her how excited he was by the work produced.
We couldn’t be more pleased for Lois and how well her project was received. It’s why we do this. To inspire learners. To show new ways of learning through making and providing cross-curricular inspiration. We want to excite the creative mind. To use technology as a voice, a means of creative expression and a way to engage and ignite passion in more traditional subjects.
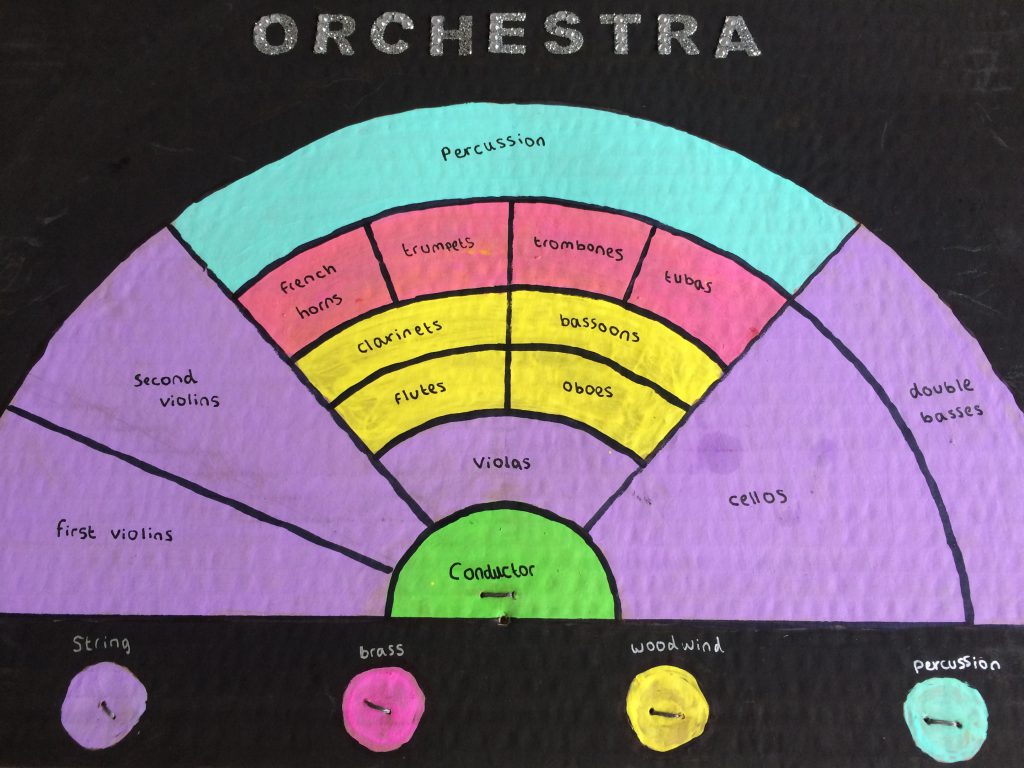
The finished, hand-painted diagram complete with fully functioning buttons made using conductive thread and capacitive touch technology.
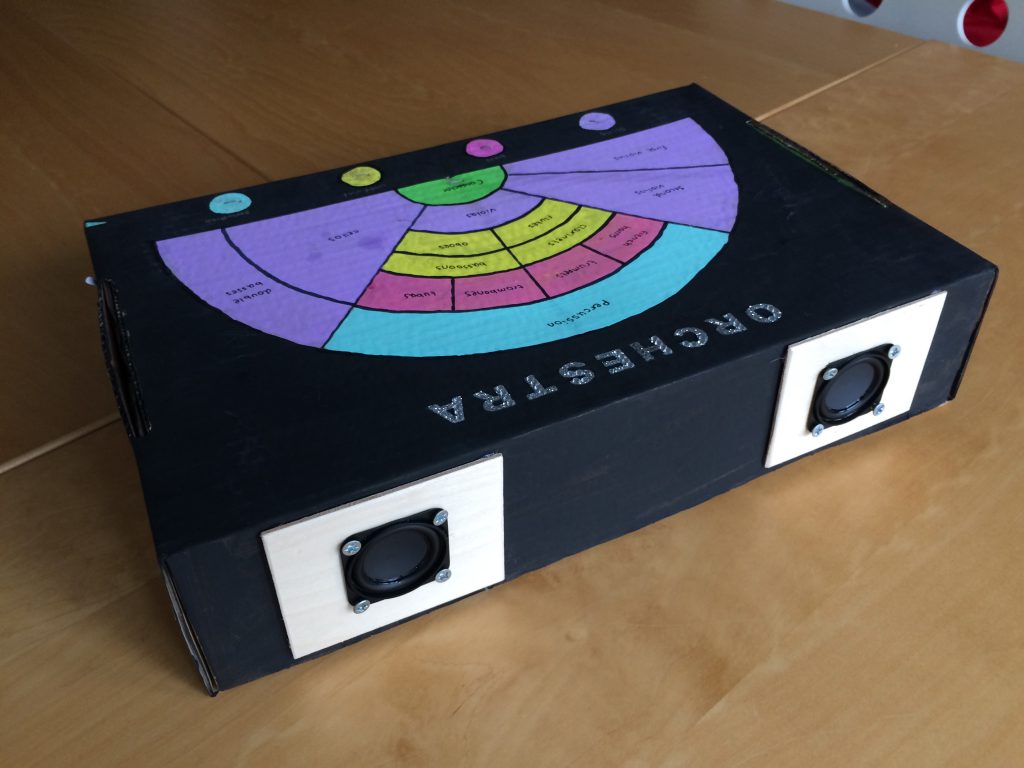
The finished work showing the simple cardboard box, orchestra diagram and speakers mounted on the side.


Leave A Comment
You must be logged in to post a comment.