

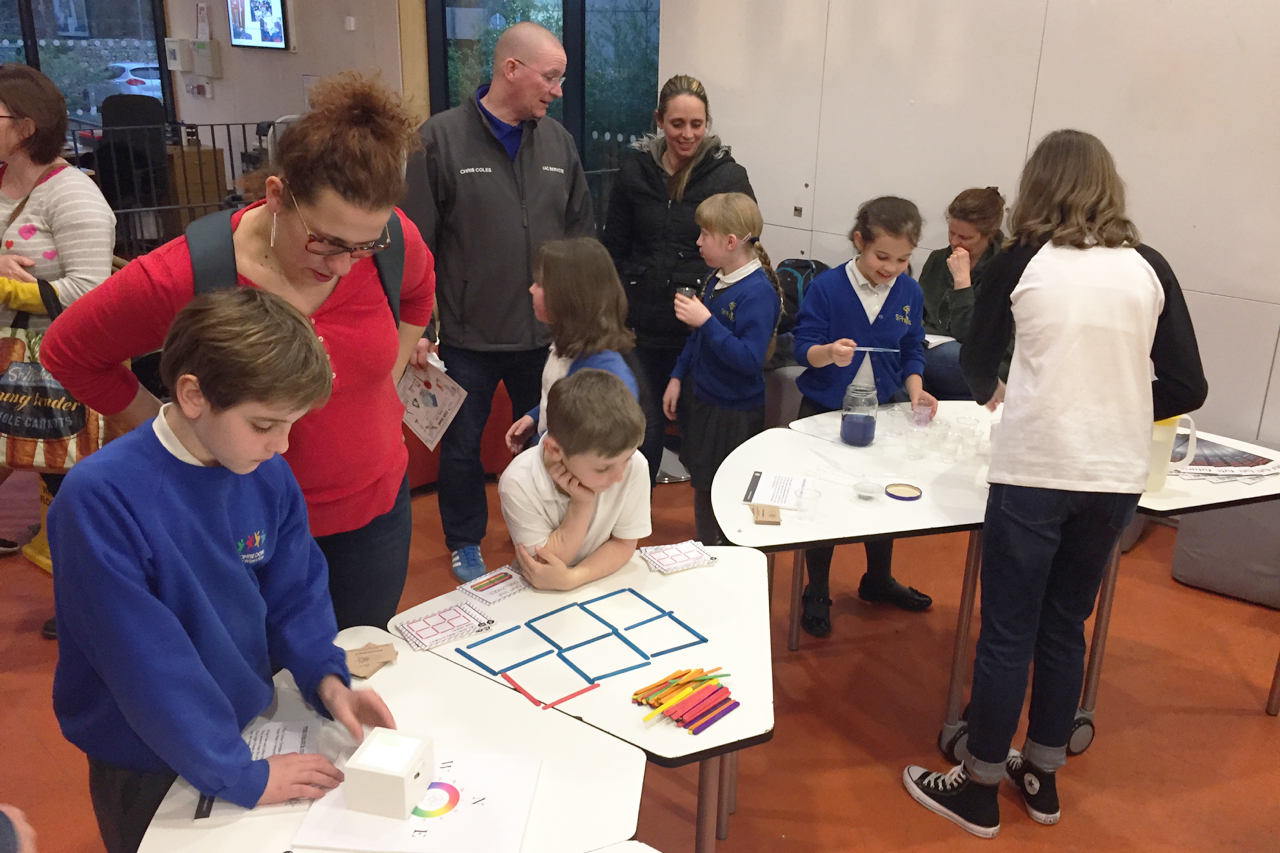
As part of our science week activities we’ve been looking at a few green technology concepts. There are many great examples and we found the Salt Powered Robot Kit by Kidz Labs was a perfect way to demonstrate how you can make batteries and generate electricity via chemical interactions.
Scientists are continually experimenting with different chemicals, materials and processes in order to try to find ever more efficient and powerful battery technologies. Electricity generation and storage are important to the development of ever more environmentally friendly ‘Green’ technologies. A key example of this is the latest generation of electric car batteries – in some cases the manufacturers have managed to double the electrical capacity in some of the car batteries, in only a few short years, whist keeping the size and weight of the respective batteries the same. They are doing this by increasing the density of electricity stored in the battery. That basically means being able to store more energy within the same volume of material. As an example the Renault Zoe initially launched a number of years ago with a 22KW (Kilowatt) battery but can now be upgraded to a newer 44KW battery. When this upgrade takes place they simply remove the old battery and slot in the new one in its place. The two batteries look exactly the same and the whole process is very much like replacing a battery in a small electric toy car only at a bigger scale.
What is a Battery and How Does It Work?
A battery is a device which can store electrical energy as chemical energy and then transform that chemical energy into electrical energy. It has three main parts. Usually two different metals make up the two terminals for connecting to an electrical circuit. These two terminals are called the anode and the cathode. The last part is an electrolyte, a chemical medium that facilitates the flow of electrical charge between the two terminals. In the case of our kit we have magnesium and copper for the two terminals and salt water as the electrolyte. It is known as a magnesium-air battery. Any battery has two electrodes – magnesium is one electrode and oxygen is the other. The magnesium and the oxygen react to create magnesium oxide. This reaction releases a current of electrical energy in the form of particles called electrons which flow through the electrical circuit. At the carbon and the salt water electrolyte, air and the water combine with electrons in the circuit to form particles called ions. These ions flow through the electrolyte.
Did you know?
The first battery was invented by Italian scientist Alessandro Volta (volts, get it?) in 1800. Do you think he invented it so he could recharge his iPhone?

All the supplied kit parts for your battery and robot
Building the Robot
The kit comes with all the necessary components and it all snaps together easily which provides a much more responsive experience. It’s always difficult with kits that require complex builds as the children can lose interest quite quickly. This kit however had no such issues. All the plastic pieces snapped out of a larger frame and then snapped together to make the little robot chassis. The electrical parts were also simple to add to the chassis. The teeny electric motor, two cables with contact clips and the battery box itself all slot in to place nicely.

The battery assembly before we added the carbon and salt water
Once all the body is assembled you move on to the battery assembly. This is where all the electrical ’magic’ happens. Once again all the pieces needed to assemble the battery part of the kit were well designed to fit together very seamlessly with a minimum of effort. First you take the small battery case and slot in the two metal plates, one magnesium (anode) and one copper (cathode). Next you insert a textile sheet on top of the magnesium plate. Finally you pour in some activated carbon which is like a fine charcoal powder, press it down with the supplied spoon and then click the whole battery assembly together.

Adding carbon into the battery assembly
Powering Up
The battery assembly is slotted into the robot ready for a salt water solution to be dropped into a small slot on the top. The solution is not supplied in the kit so you make this up by mixing as much salt as you can into a small container of tap water. Keep adding salt and stirring until the water will not dissolve any more salt.
As you add the salt water into the battery the electro-chemical process begins, powering the tiny electric motor which in turn drives the robot forwards. It’s a fun experiment with a dynamic outcome. Seeing the little robot scooting across the floor gives a great demonstration of the potential of the technology and the kit itself makes for a great activity. It only needs a spare 30 minutes to an hour to complete and is a great example of green science for inquiring minds.
We used a tape measure to see how fast the little robot could go. We marked out a one meter length and timed its journey across this distance. Can you remember your speed calculation formula? Speed = Distance / Time.
The battery gives out approximately ten minutes of power and you can test its performance and measure the circuit to see how this output reduces over the course of the battery’s lifespan.
We hooked up a multimeter and got readings of approximately 1.8V and 49mA.

The battery registered approximately 1.8v

The battery showing a reading of approximately 49mA
Have a go at building your own battery
Did you know that you can build your own metal-air battery using an aluminium drink can and barbecue charcoal? Why not have a go yourself and see if you can generate electricity this way. Can you use it to power an LED or small bulb. Can you measure the voltage and current using a multimeter. How about using some maths to calculate how many of your DIY batteries it would take to power a gadget, your house or your town or city?


Leave A Comment
You must be logged in to post a comment.