
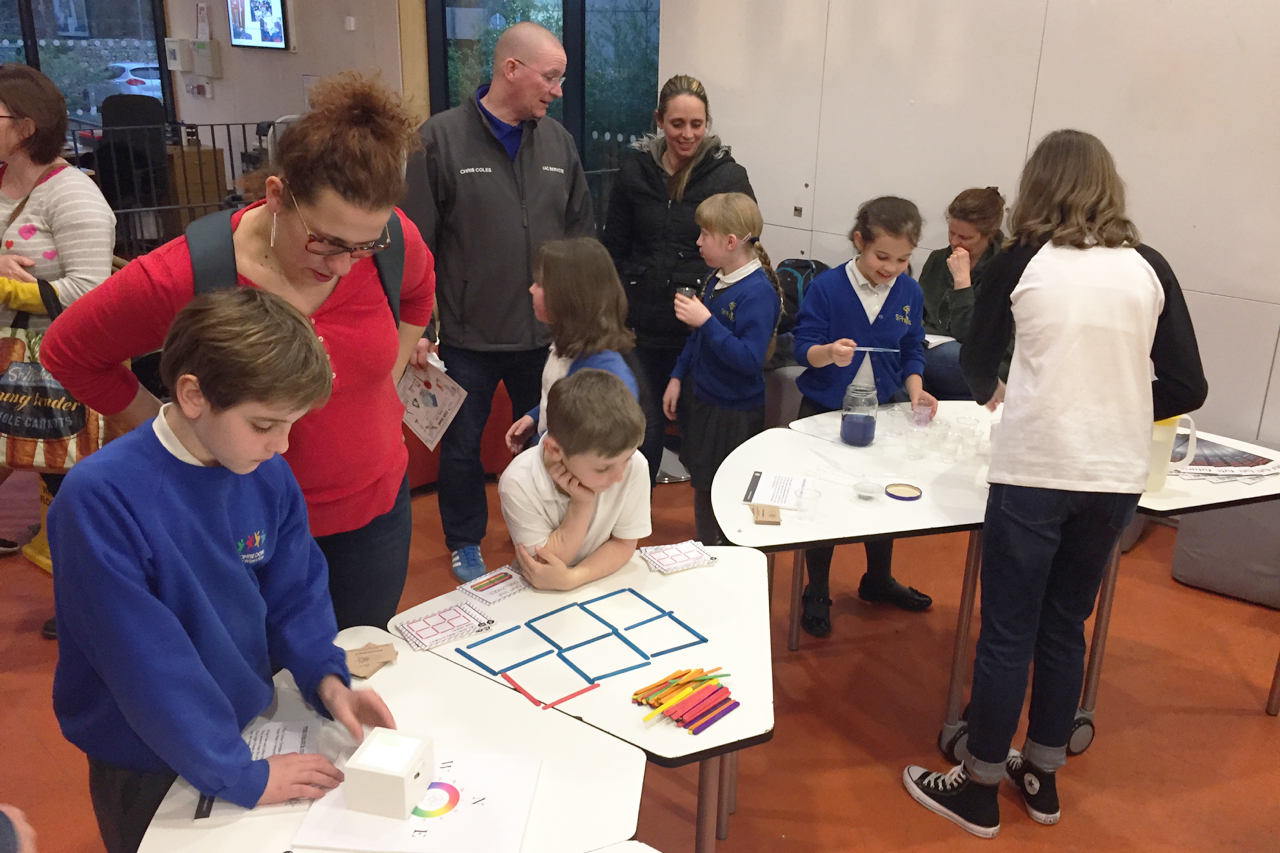
We recently held a ‘making’ activity day themed around dragons. Inspired by this topic we decided to explore some new ideas for using the BBC Micro:Bit creatively, developing projects for making and coding in a creative way is at the heart of everything we do here at the STEAMShip.
Hic Est Draco – Roar!
Why Micro:Bit?
We love the immediacy of the Micro:Bit platform. It means faster prototyping for simple circuits and interactions. It may not be as complex or offer as many possibilities as the Raspberry Pi or Arduino platforms but this narrower scope of features makes for, in our opinion, a more responsive and agile feel to experimentation and iterative making. This is especially true when working with younger students. The official, JavaScript based, Microsoft MakeCode editor is simple to use, has a familiar feel for students who have already started their coding journey with Scratch or Kodu. The large set of pins on the bottom of the Micro:Bit are designed to work well with either crocodile clips or banana clips, and are less fiddly than some circuits built with traditional breadboards.
Materials Used
1 BBC Micro:Bit
1 MI:power add on board for Micro:Bit
Copper conductive tape (sticky)
6 test leads with crocodile clip ends
A cardboard box or sheets of cardboard
Conductive thread
2 Adafruit LED sequins – whatever colour you fancy!
The Design & Build & Tinker Process
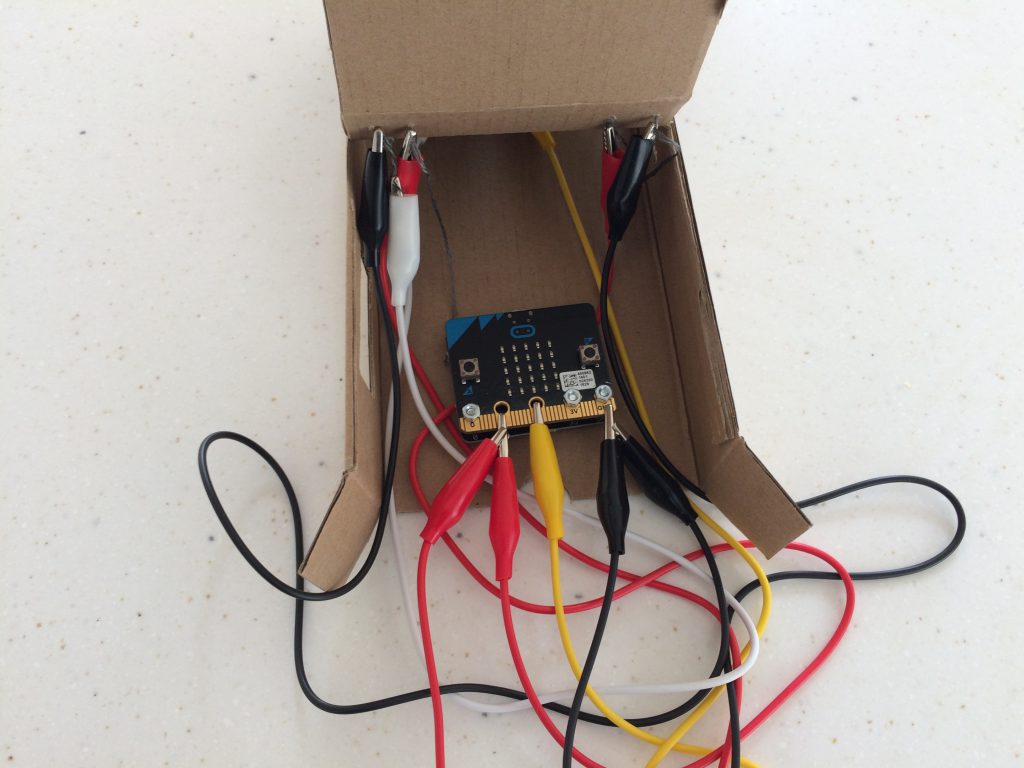
The first step was to play with the BBC Micro:Bit, try out a few pieces of code, and test a few simple circuits to establish what was the best way forward. In true tinkering style we wrote a number of discrete code tests to try out each piece of functionality by itself and then combined them into a single code project when we were ready to build the final model and wire it all up. We also prototyped the circuit designs and wired up the final circuit in its bare form, outside the model just to make sure it was all functioning correctly as it is a bit more fiddly having to pull components and cables out of the model when something does not function quite as you had intended. Prototyping it first helps to avoid this.
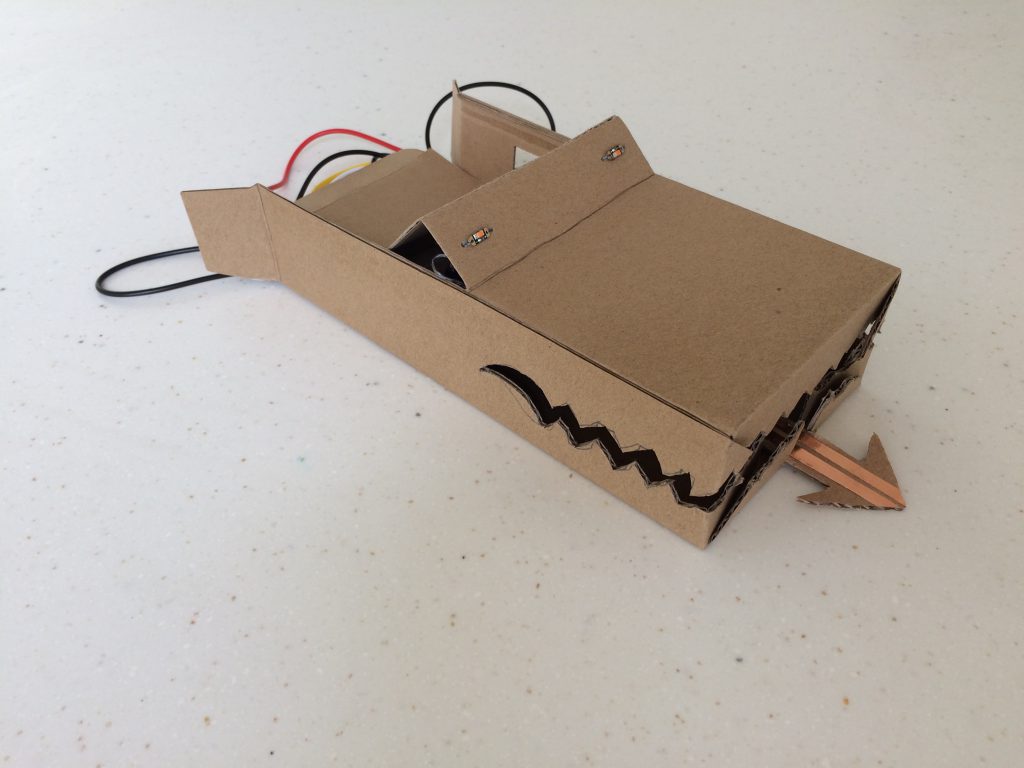
The circuit design applied to the model
The material of choice was cardboard. For ease of use and good structural integrity, it cuts well, can be glued, stuck to, painted on and stand up to a good bashing so suits this type of activity well. It also is a readily available up-cycling material source and its very nature suggests something prototypical and “in progress” so helps to promote the tinker mindset. Rather than building a design to test from scratch we started with a small box and cut it to suit, a hole for the mouth and a few cuts to fold over part of the top to make the area for eyes. The box would hold the cables and Micro:Bit inside quite easily and an opening at the back provides easy access to all the components. We could have taken the modelling and design of our dragon much further but as this was a prototype we kept it simple.
Powering for portability enhances the possibilities for future wearable ideas and having a usb cable tethered from your dragon to your computer isn’t the greatest look and probably doesn’t form part of your computer’s manufacturer’s specifications! Unless you are using a Linux computer, in which case a tethered dragon is pretty much mandatory isnt it? 😉 . With this in mind we opted for the MI:power board which connects to the Micro:Bit and provides a simple buzzer for audio effects and also portable power using a simple CR2032 3 volt coin battery.
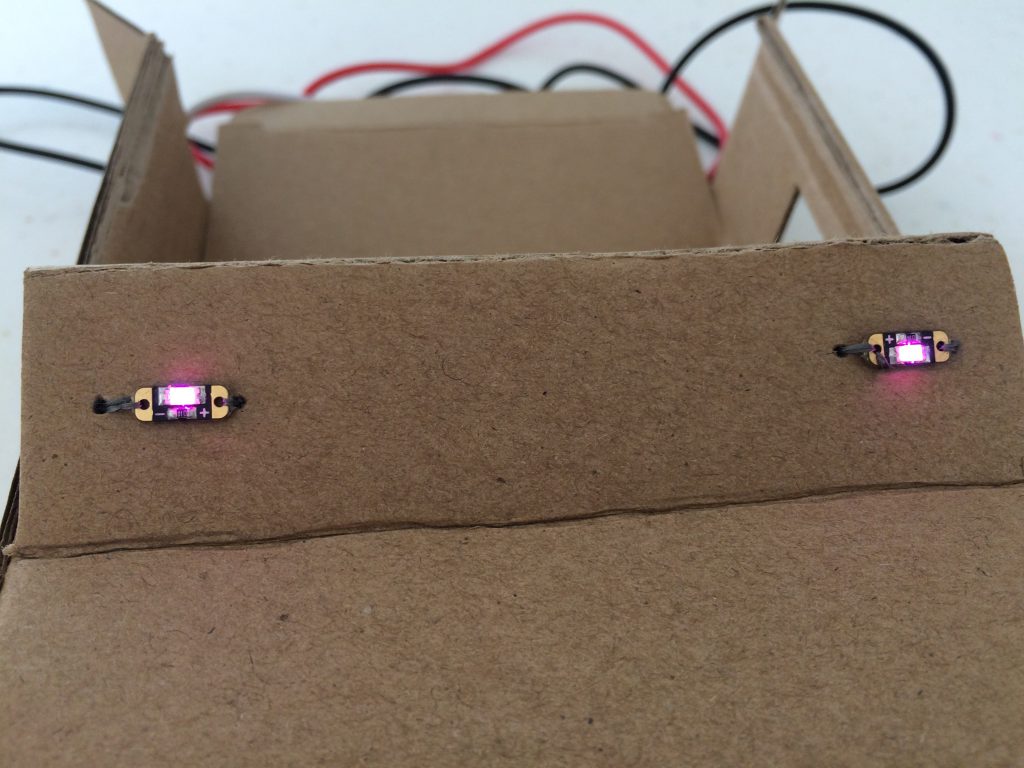
LED sequins used for light up eyes
To simulate the dragon waking up we planned to use LEDs to light up the eyes. Normal LEDs will work fine connected to the Micro:Bit but to save on extra wiring and the possibilities of having to add a resistor to each LED we used some of Adafruit’s lovely LED Sequins, they are quite teeny but come with a built in resistor, work with a voltage input range of 3 to 6 volts and have through holes designed for conductive thread to both wire them up and fasten them down. They are a great choice for wearable projects and come in a number of colours, in this instance we decided on pink. We poked small holes through our dragon and threaded each sequin through the respective holes. On the inside of the model where these conductive threads came through we wired both LEDs up in parallel to the pin 1 on the Micro:Bit. The code to light up these LEDs was a simple call to write pin 1 to 1.
As the Micro:Bit was to be placed inside the model of the dragon we decided to use its on board LEDs to create a fire effect, which lights up through the mouth of the dragon. It’s not super bright but is a good start and in a darkened room you can see the effect pretty well. When the wake up events are triggered we kick off a continuous loop of code which flashes all the on board LEDs on and off repeatedly. A variable in the code names awake tracks the state of the dragon, so a true state will allow the loop to enact the flashing code, otherwise the led screen will be switched to off.
We could have used a simple buzzer component, wired up to port 0 and ground on the Micro:Bit, which would have worked perfectly well. However, this adds more cables into the design and our choice of MI:Power board means we already have a buzzer component ready to use. There are a number of pre designed tunes and sounds to start with and you can compose your own music if you have more time to customise the code but for now we chose a sound effect to play when you wake the dragon up. We chose the “baddy” melody to enhance the “you lose!” sense when you have woken the dragon up.
Our dragon is quite sleepy and needs a good shake to wake it up! The shake action block was perfect for this but it did require a rather vigorous shake to enact the code and the poor dragon’s insides did get a darn good jiggle and may not stand up to such a vigorous workout.
We could have chosen a simple timer for making the dragon fall back to sleep but as part of the learning process it seemed like a good idea to use this opportunity to add a bit more interaction into the design. If a switch or trigger could be used that would be ideal. After considering some possibilities we explored the idea of a touchable area on the dragon to send the little beast back off to the mythical land of Nod! The top of it’s head would make sense as that would be a likely place to lull it back to sleep by gently touching or stroking it there.
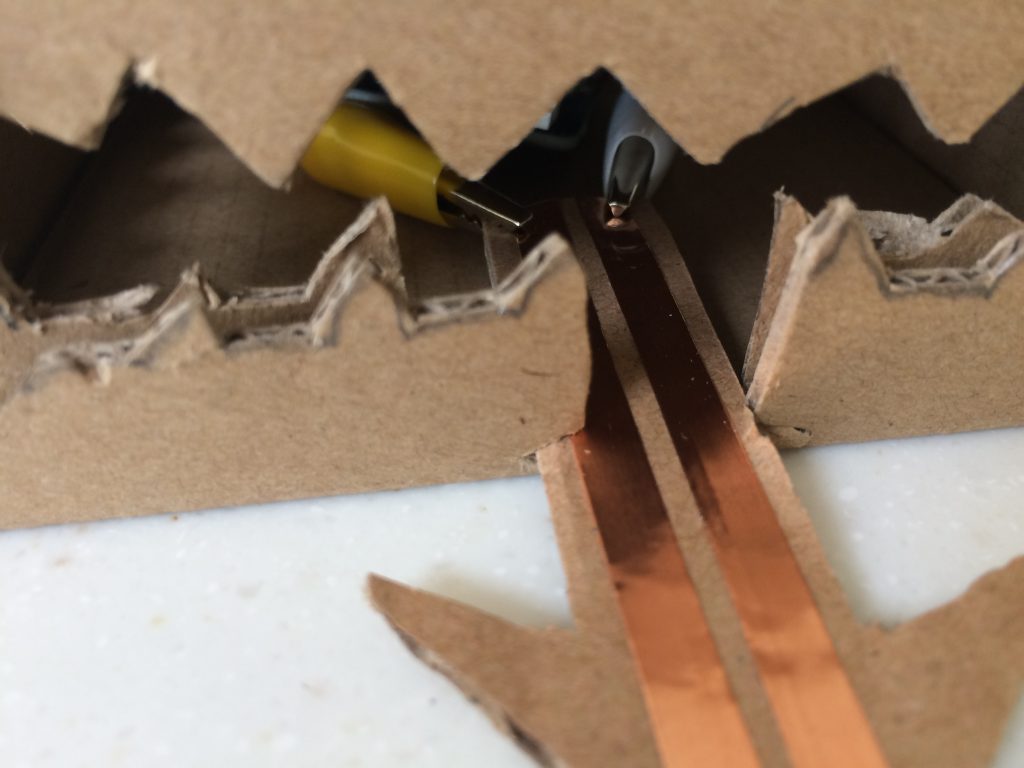
The dragon’s tongue close up with conductive copper tape
But to add a silly twist we decided to make the dragon’s tongue the switch. By adding 2 strips of conductive copper tape to the length of the tongue and spacing them ever so slightly apart we were able to make a simple electrical switch which is closed as soon as your finger touches them and completes the electrical circuit. This was connected up to ground and pin 2 with a corresponding code action block added to trigger the dragon falling asleep and all the effects, such as leds and sound switching back off.
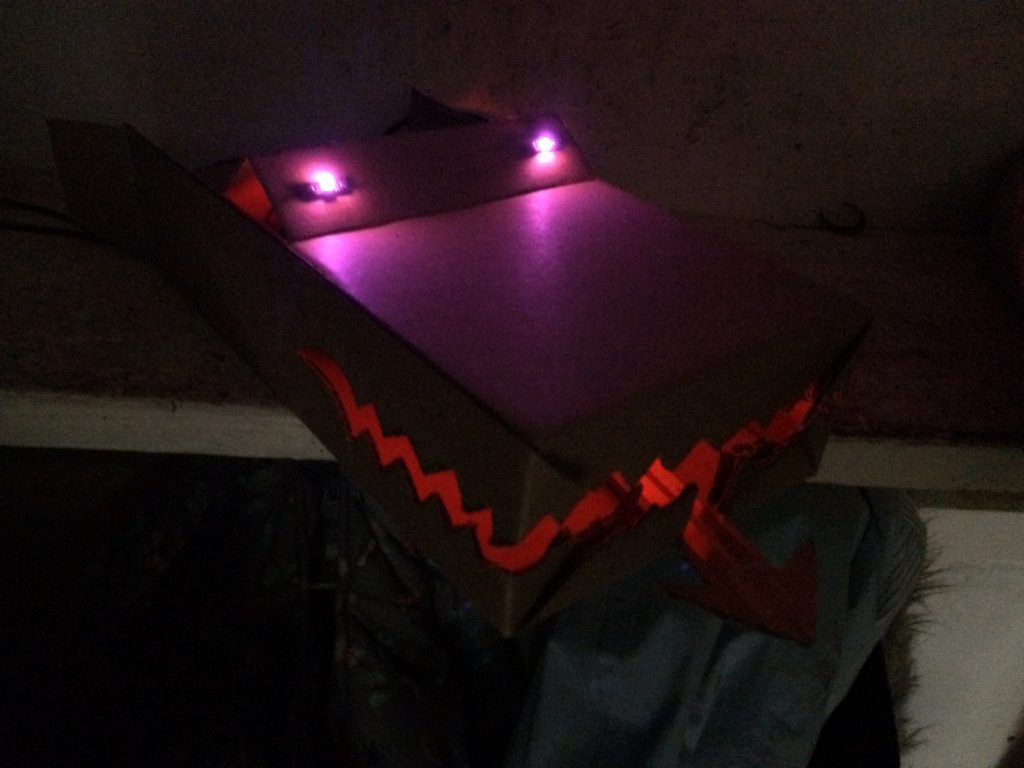
The finished dragon when viewed in the dark
Lessons learned
A pre designed dragon model which can easily be constructed and decorated in a workshop or classroom would help to keep the learning process on course. Designing a workable 3d model from scratch, getting the circuits and components to fit within it successfully and also designing the effects and interactions takes some experimentation and would be better served in a whole days activity, with older students. The more advanced challenges inherent in thinking about building your own design from scratch and then having to prototype it all is a great lesson in design thinking, understanding the possibilities and limitations of the material choices and subsequently integrating electronics and interactivity are great Maker centric activities for more advanced and older students. For the younger ones having a cardboard model in kit form would allow you to focus on the rest of the activities such as the coding and circuit building, plus allow more scope for creativity by having more time for painting and decorating the model.
What next? Ideas for improving the activity.
Researching online for dragon ideas and designs we found so many sophisticated dragon models and mask designs out there. There are so many inspirational creative ideas and ways in which to enhance the creative side of the project. A template design could easily be produced and prototyped on a CNC cutting machine. These could then be distributed to the students and allow them to dress, decorate and put their own personal stamp on their dragon design.
There are a number of material possibilities to explore as well. Felt is a perfect match for the LED sequins and conductive thread. Junk modelling is always a source of cheap and readily available parts. Paper mâché, wood and metal could also inform more advanced structures.
Adding NeoPixel sequins to either replace the eyes or to enhance the fire effect within the mouth would add an extra dimension to the effects and also add some extra lessons in terms of programming and wiring up NeopPixels.
Making the dragon more physical or dynamic in it’s responses would add to the theatre of the final experience. It would be relatively straightforward to incorporate servos to add some animatronics such as moving its toungue in and out, making the dragon’s mouth open and close, flap some wings or even a subtle effect like make it breathe in and out as if snoring whilst sleeping!
One possibility for addressing the previous two upgrade ideas would be the use of a SERVO:LITE board from Kitronik – this has portable battery power, connectors to drive up to three micro servos and five on board NeoPixels. The only thing you would lose with this option would be the integrated buzzer present on the MI:power board we currently use.
Which brings us nicely on to ideas for improving the sound effects – the buzzer is very limited and the Micro:Bit is quite limited with sounds – you can’t easily play back mp3’s or audio files without adding extra hardware and much more complex code and circuits. However, it would be nice to experiment with this and let the dragon snore whilst sleeping, roar when awakened and maybe sigh when you tickle its tongue to lull it back to sleep.
As far as coding improvements go the first point would be to change the action trigger from shake, which is a bit aggressive and causes the crocodile clips to work loose quite often!, to sensing a more direct “lift up” action whilst the micro:bit is lying, screen up, inside the model.
It would also be nice to see if we could use the built in Bluetooth functionality and develop a simple companion app to trigger the dragon’s actions or also warn you if someone lifts the dragon up. We could even build a game on the phone or tablet which you could interact with using the dragon model!
In summary, there were some valuable lessons learned especially in terms of durability and viability of material choices and it has sparked plenty of new ideas for future projects.
Why not build you own Micro:Bit dragon and share it with us.
The full JavaScript code is as follows –
let awake = false
input.onGesture(Gesture.Shake, () => {
    awake = true
    pins.digitalWritePin(DigitalPin.P1, 1)
    music.beginMelody(music.builtInMelody(Melodies.Baddy), MelodyOptions.Once)
})
input.onPinPressed(TouchPin.P2, () => {
    pins.digitalWritePin(DigitalPin.P1, 0)
    awake = false
})
awake = false
basic.forever(() => {
    if (awake == true) {
        images.createImage(`
            # # # # #
            # # # # #
            # # # # #
            # # # # #
            # # # # #
            `).showImage(0)
        basic.pause(300)
        images.createImage(`
            . . . . .
            . . . . .
            . . . . .
            . . . . .
            . . . . .
            `).showImage(0)
        basic.pause(300)
    } else {
        images.createImage(`
            . . . . .
            . . . . .
            . . . . .
            . . . . .
            . . . . .
            `).showImage(0)
    }
})


Leave A Comment
You must be logged in to post a comment.