

There are lots of kits available these days for the budding electronics engineer, but we thought it would be great fun to prototype a minature version the kind of lab you might see being used by a crazy scientist performing some questionable electronic experiments in a remote castle somewhere.
We also thought it’d be interesting to push the boundaries of what is possible within an electronics kit. Having played with Snap Circuits Junior set,
these sets offer a great variety of electronic experiments and are really good at encouraging kids to develop tinkering skills, circuit bending techniques and understanding basic electronic theory. But we thought we’d take a STEAM approach to the kit and see what weird and wonderful additions you could develop for the budding STEAMship crew members and anyone who would be interested.
In the future we might think about how we could combine this with potion making and magic special effect creation as we are also starting to do with our Harry Potter or magic party theme.
We will be aiming to keep building this project over the next few months into not just a functioning lab where real scientific experiments can be done but also to develop the carnivalesque aspects of it. By taking more of a narrative approach, for example by thinking about how we could add a thunder and lightning effect or even perhaps triggering this effect from switching on or off switches in the lab, we can build the experience of using it and develop a greater understanding of processes involved with interaction as well as scientific experiments.
Please feel free to contact us to suggest any module ideas we could add to the lab. We love a challenge. The possibilities are endless but we will be starting with some simple modules for light, sound, voltage control and timing and build up from there to more advanced experiments.
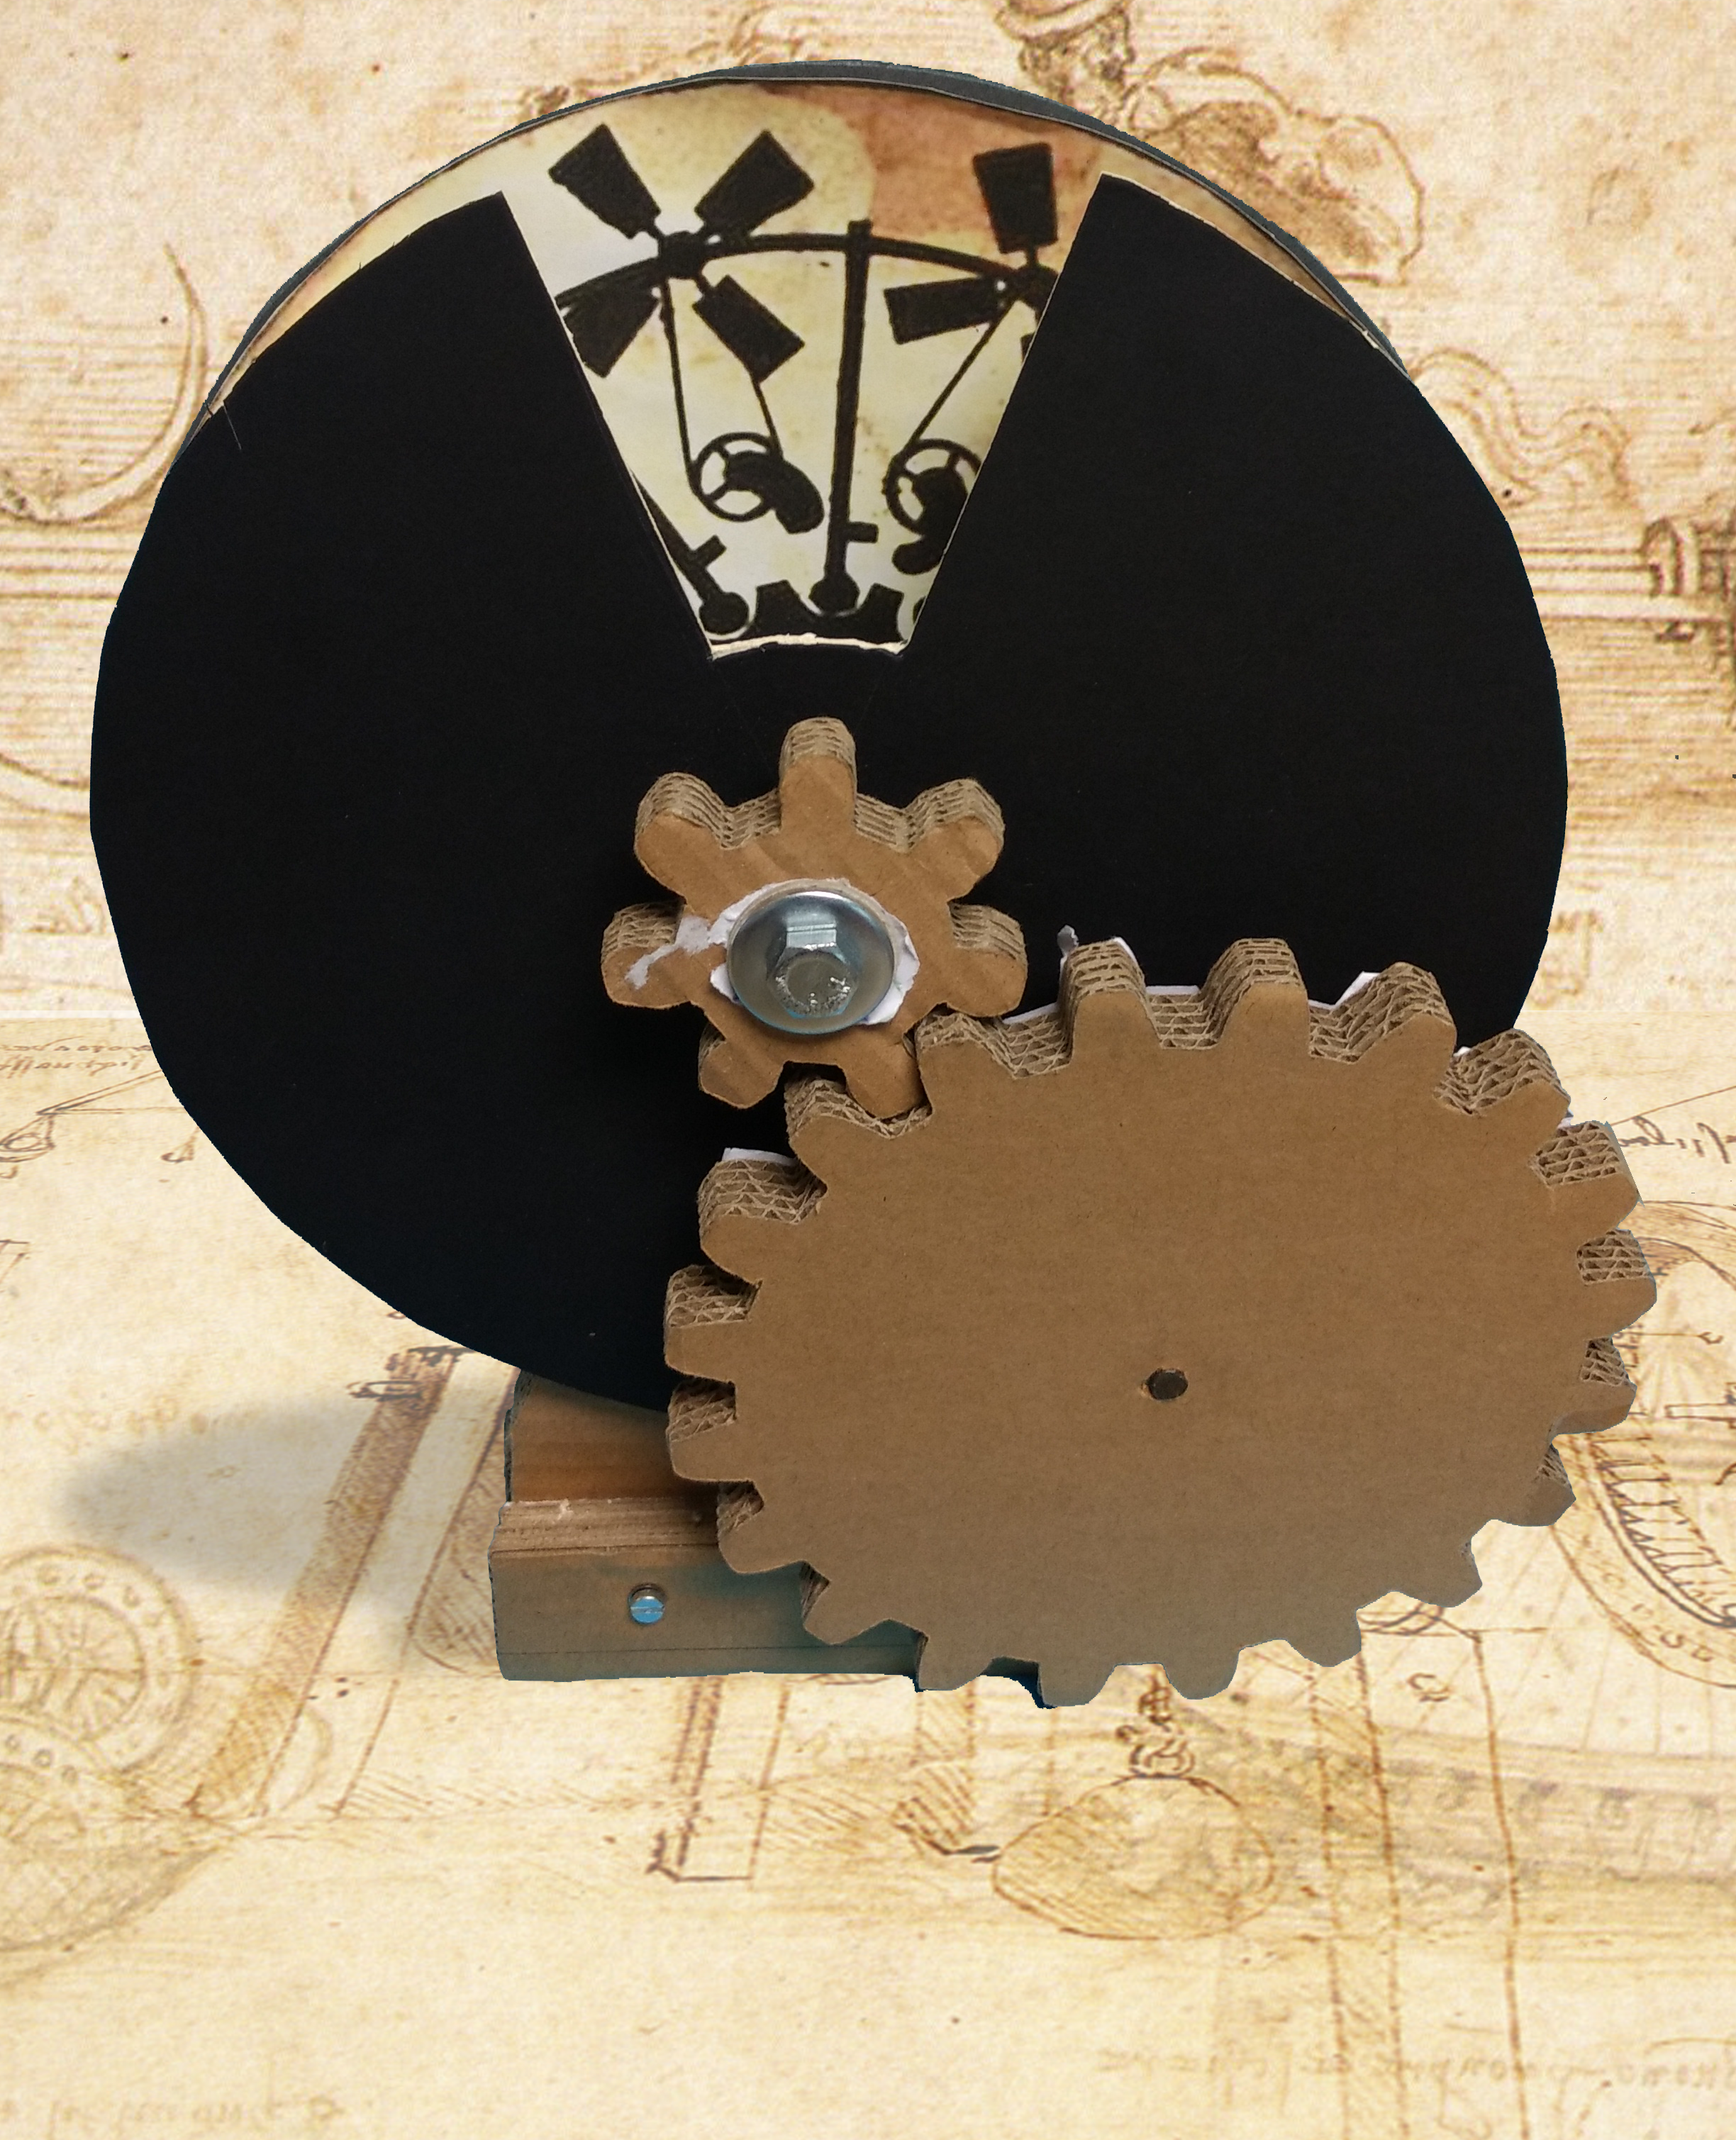
We started to think about how it could be built in stages. The first plan was to source some wood blocks, sand and stain the wood. We used the similar non-toxic walnut stain that was used in the Steampunk Google Cardboard viewer we prototyped a while back.

Then we looked at how we might attach components to the blocks. Using coppered tacks and soldering the components directly to the tacks seemed like a good way to get started. Later we might design a more simple connection socket for easier experimentation. But you get a nice vintage approach with crocodile clips and leads as they fit nicely on the tacks. With a bit of adjustment they work ok.

Next it seemed like a good idea to add different components. So far we have Red, Green and Yellow LED’s and an RGB LED. We have a couple of Buzzers, and have now added a 555 timer chip and a few transistors.
What Mad Scientist lab would be complete without some old school voltage measurement. We had an old VU meter lying around which measures up to 1000 volts. Obviously we aren’t going to measure anything with bare wires up to that voltage. But later on perhaps with a mini Faraday Cage module, we could safely set up some spark generators and some more experimental modules. Since this photo was taken we have put the VU meter in its own module.

So keep checking back to see how this lab progresses. Now we’ll be off to get some knife switches, bubbling liquids and maybe even a glowing plastic brain in some slime! Mua ha ha.
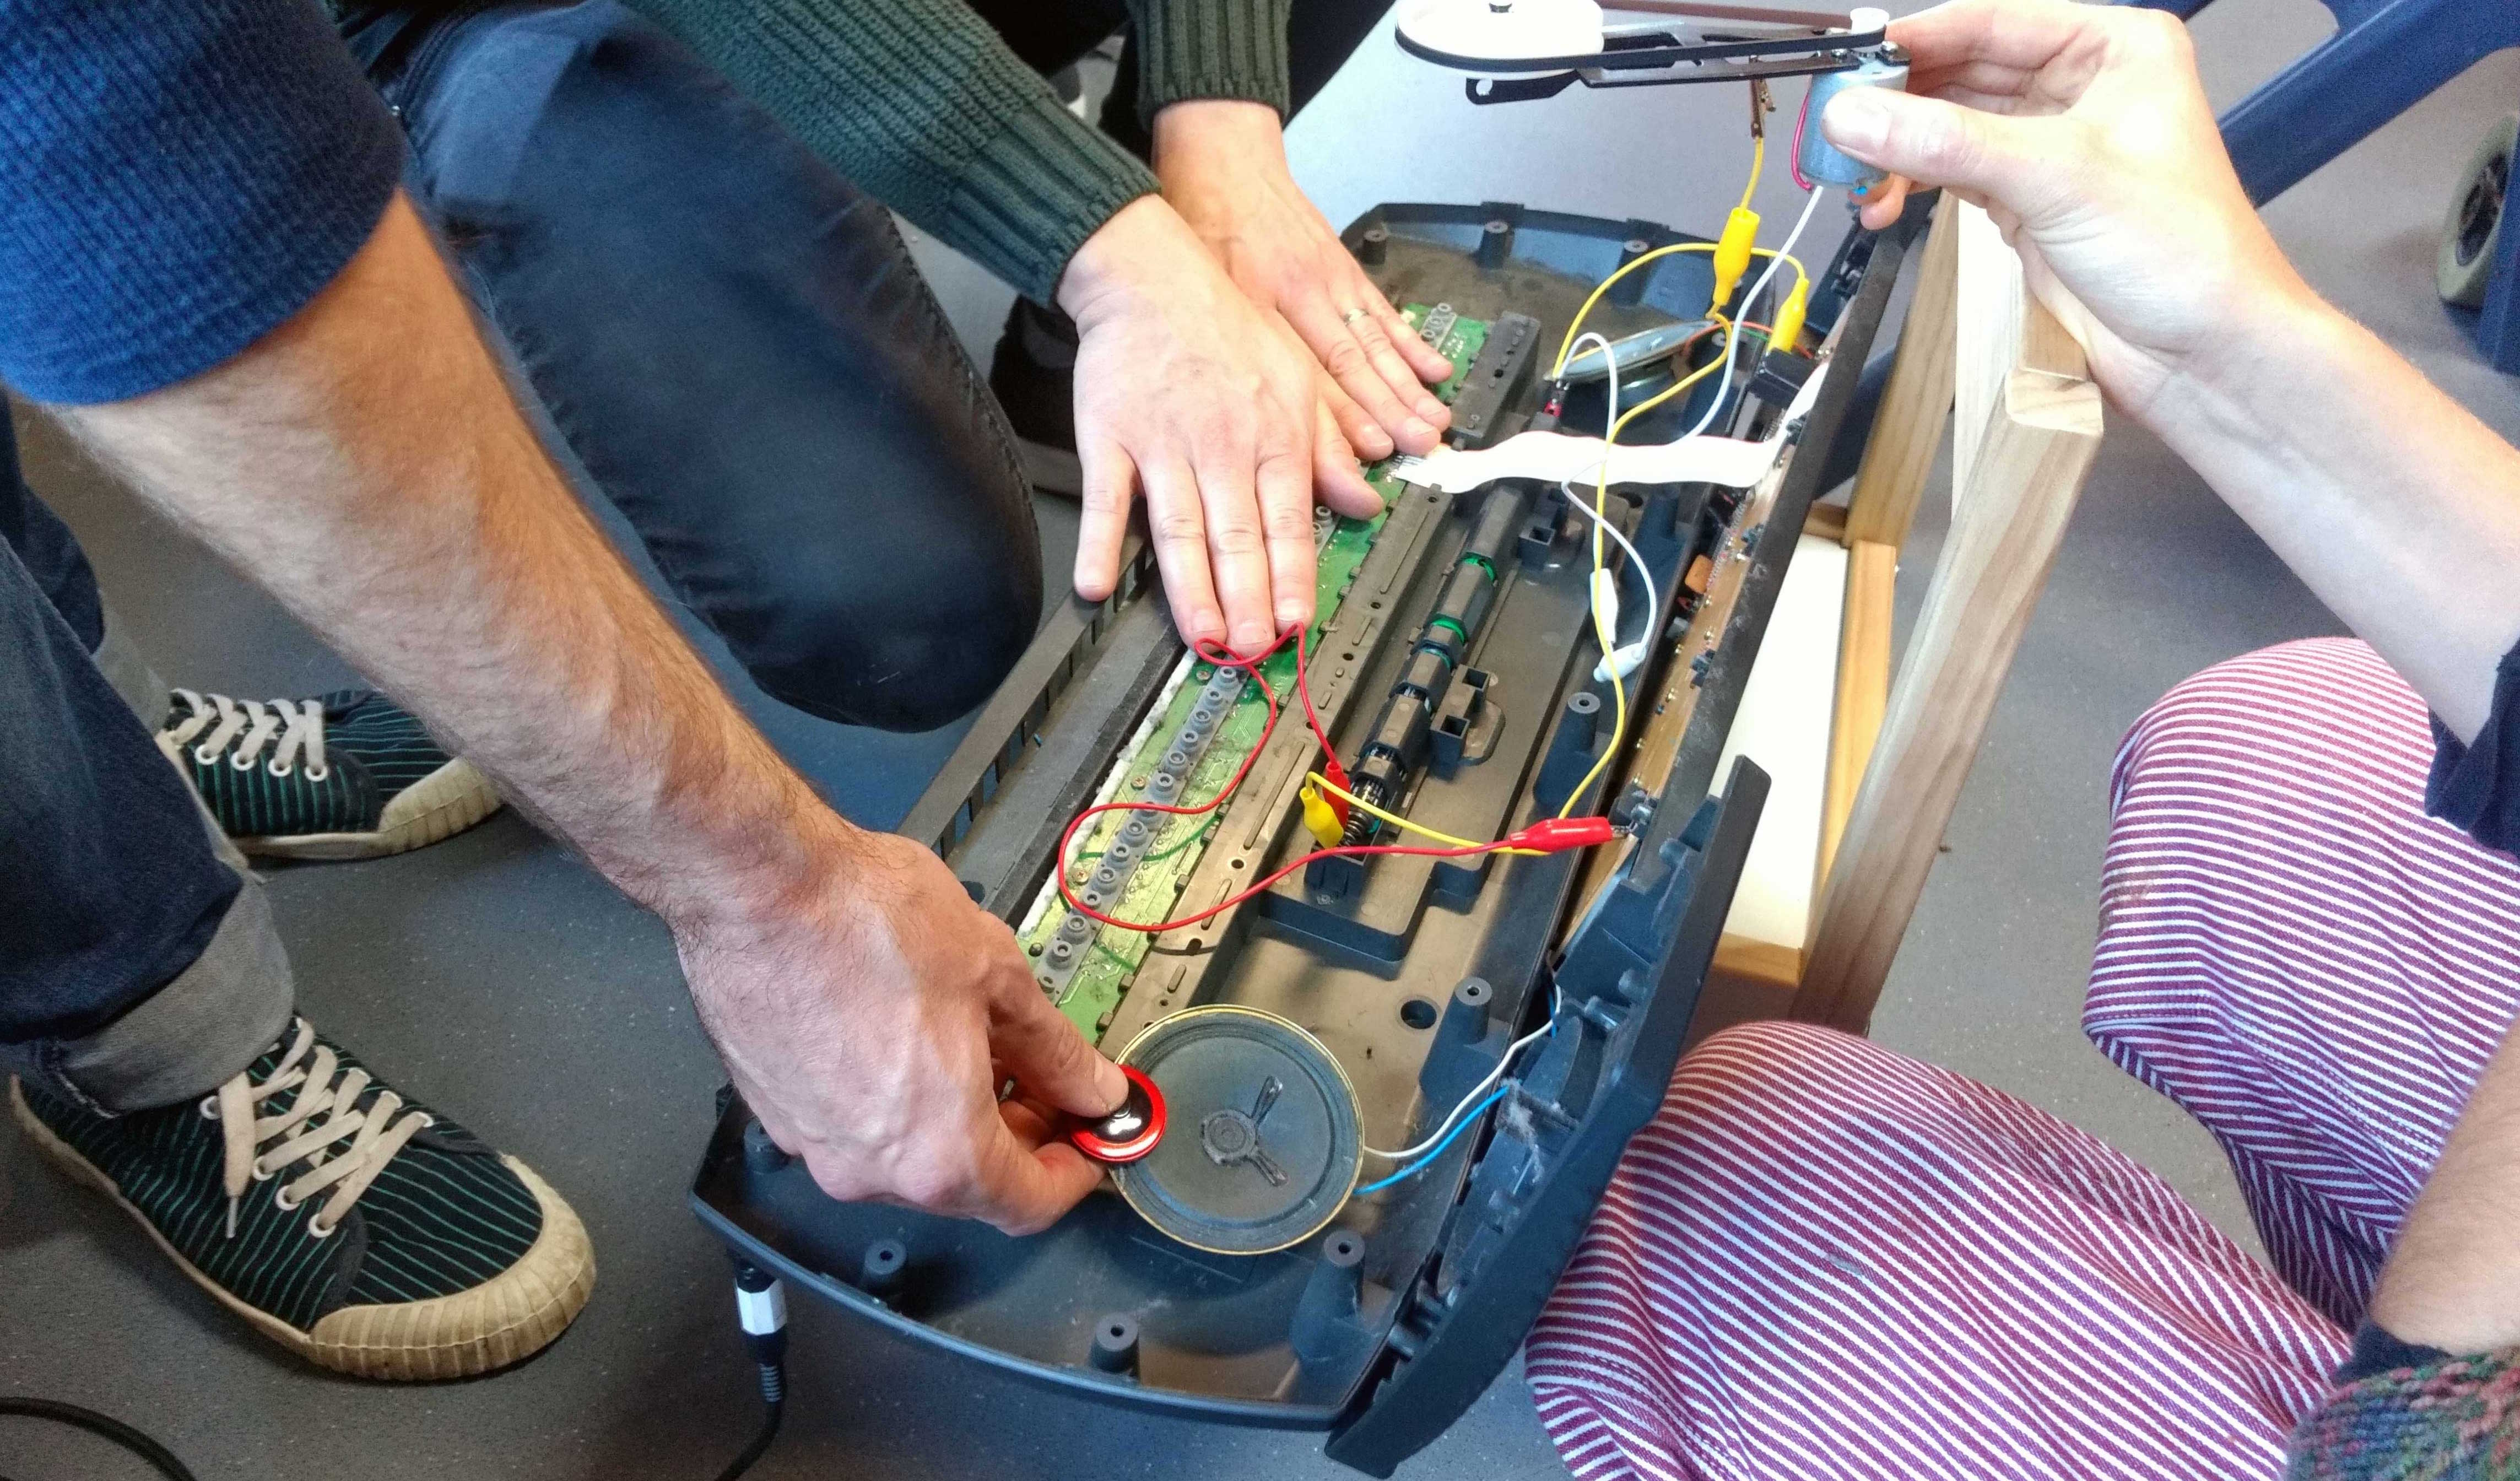
Its starting to take shape now and we’ve started to experiment connecting up the modules. We are using the Make book, How to Use a Breadboard by Sean Michael Ragan and Jody Culkin initially, just to get the modules functioning with some simple projects. Next we are going to get the brain in a jar to light up and in the image below we are tinkering tinkering with LEDs and photo resistors to get fluctuating light from the jar.


Leave A Comment
You must be logged in to post a comment.