

I am starting to explore some simple soldering projects and developing a workflow from early ideas to a more useful art prototype. I have been avidly reading Forrest Mims’ Science Experiments.

Its a great book for experimenting with science and art in a playful but educational way. Lots of the projects in this book are relatively easy for the beginner but sufficiently challenging to extend allowing you to perform some useful scientific experiments. Its a great book if you’re looking for projects that merge science and art.
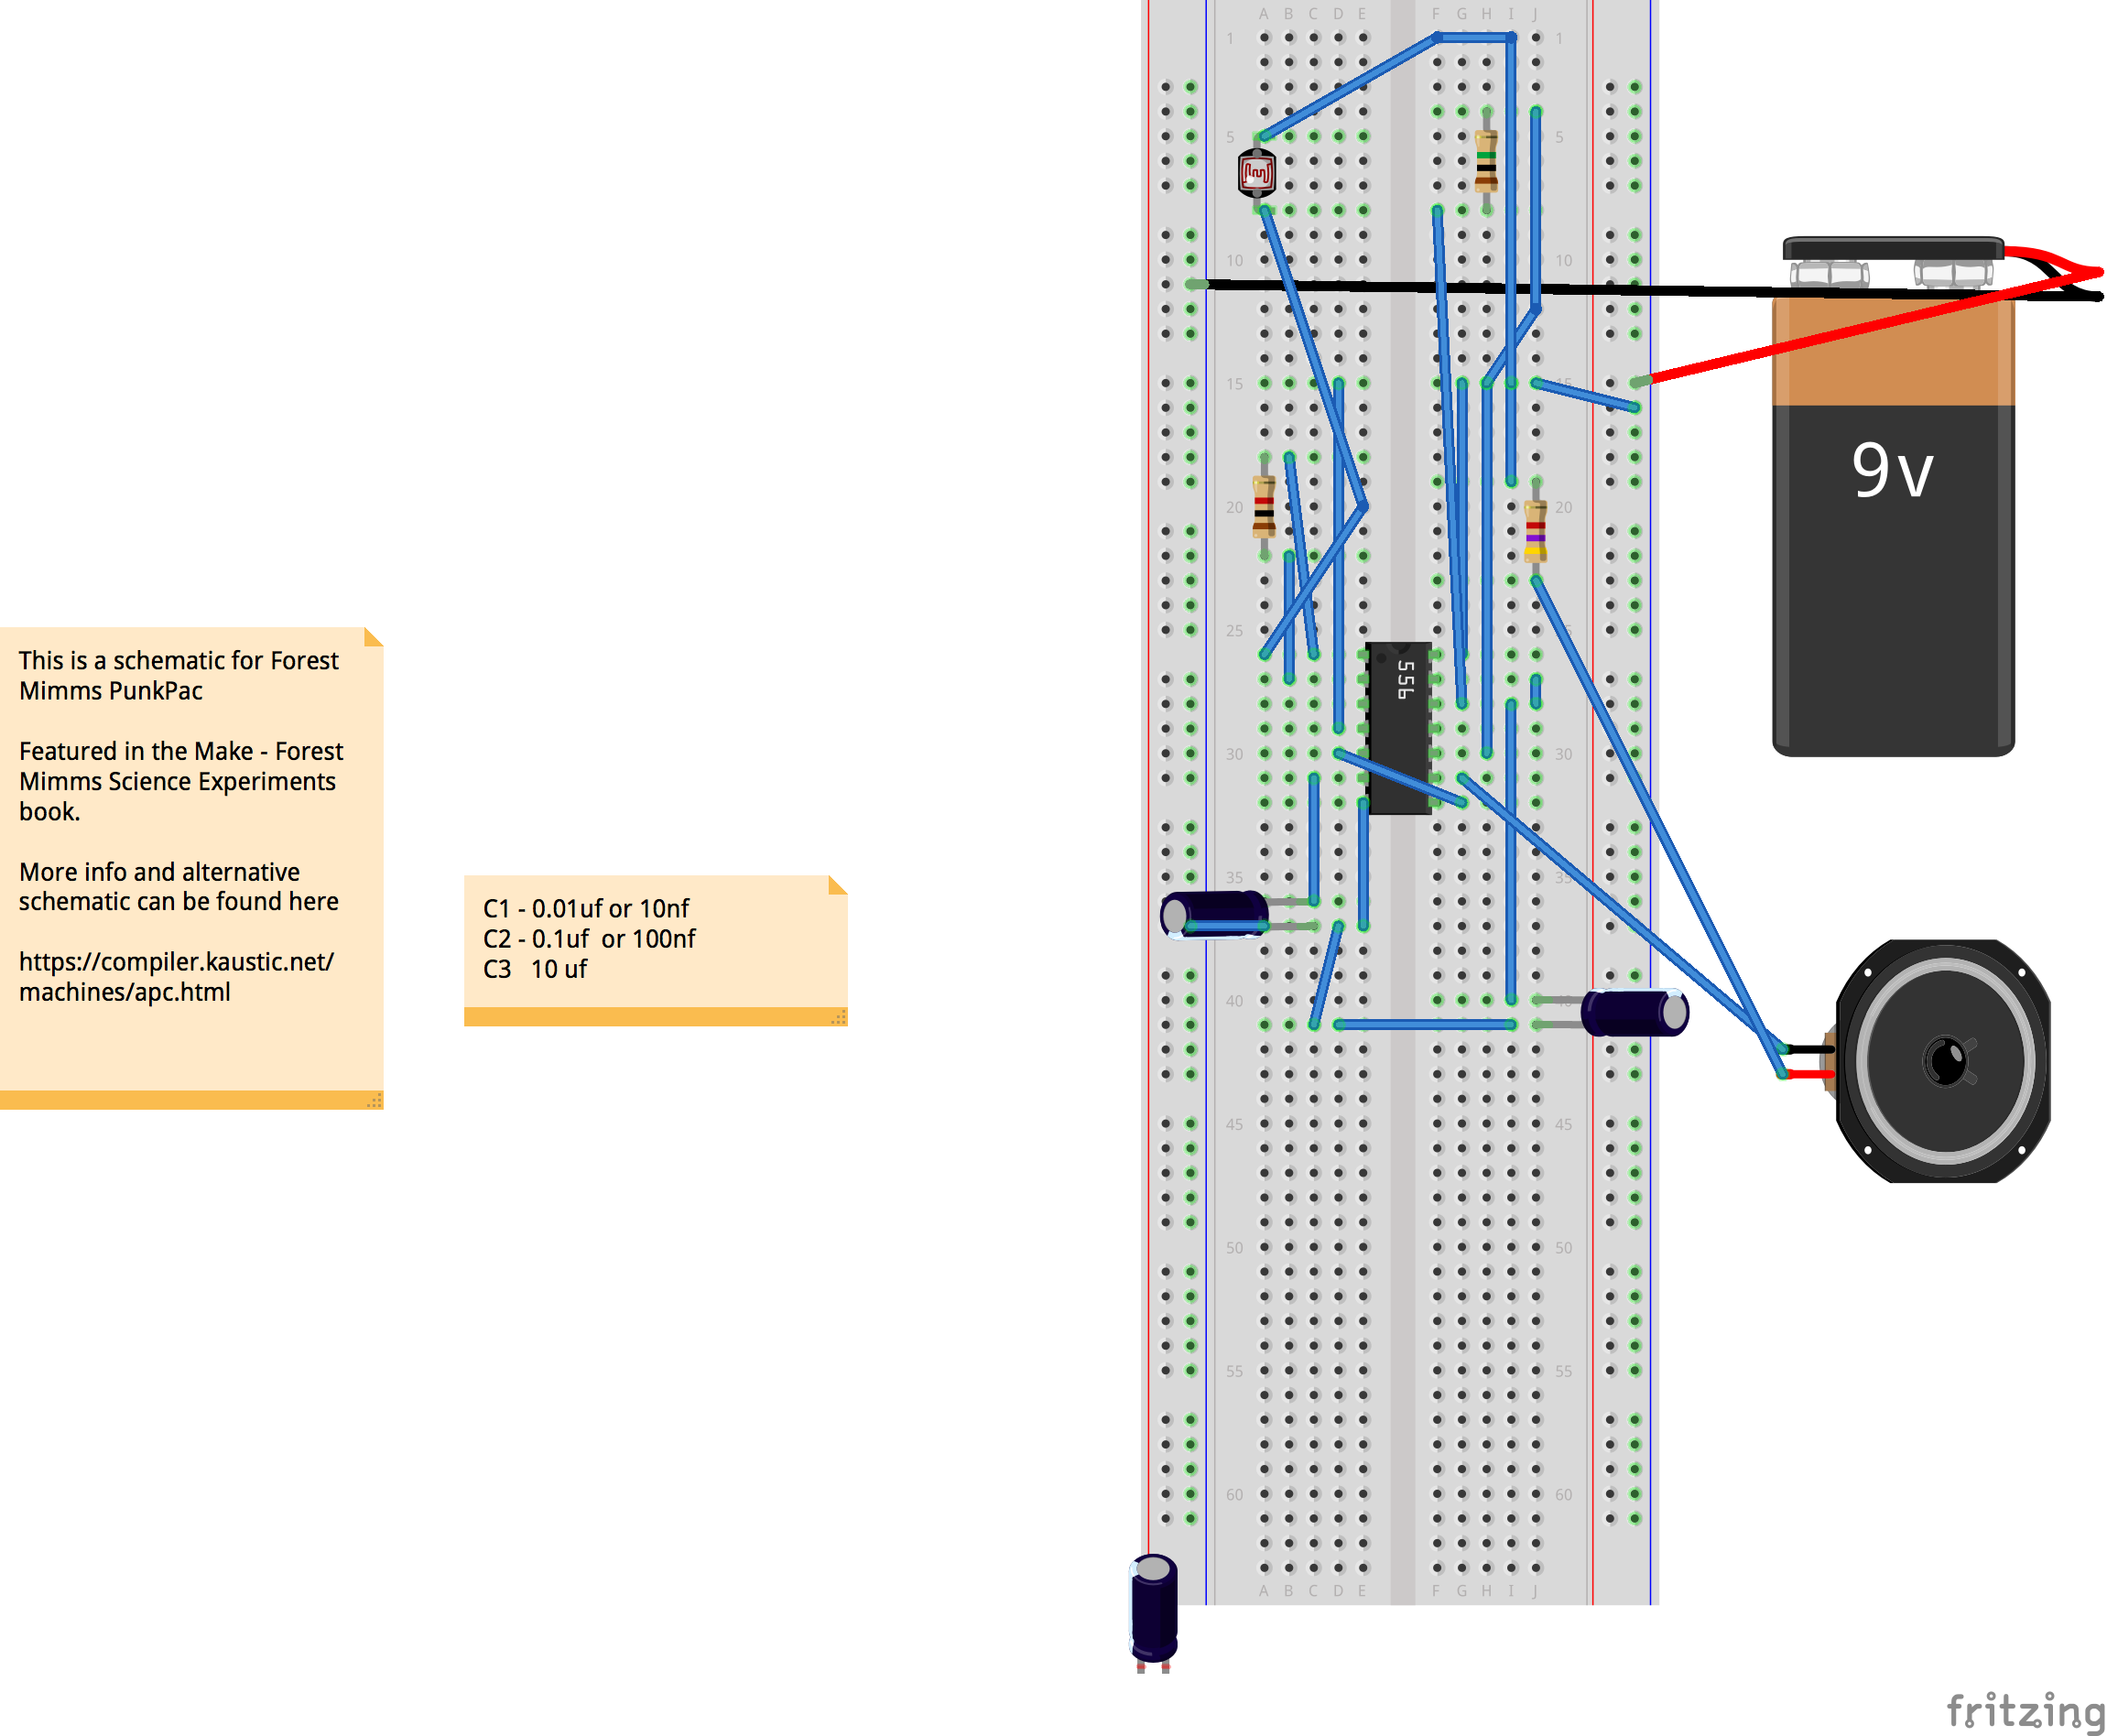
I was immediately drawn to the Punk Pac experiment which is an adapted project based on the Atari Punk Console. For a very entertaining introduction to the Atari Punk console, have a look at the Collin’s Lab introduction to the Atari Punk console on Make:
To begin with I tried to interpret the schematic in Forrest Mims’ book but realised quickly as I waded through the mountain of wires that I had assembled on the breadboard, that I had overdone it somewhat.
So I started to use Fritzing a popular tool for digitally assembling circuits from a range of popular components, you can even create schematics and PCB designs with it from your ideas.
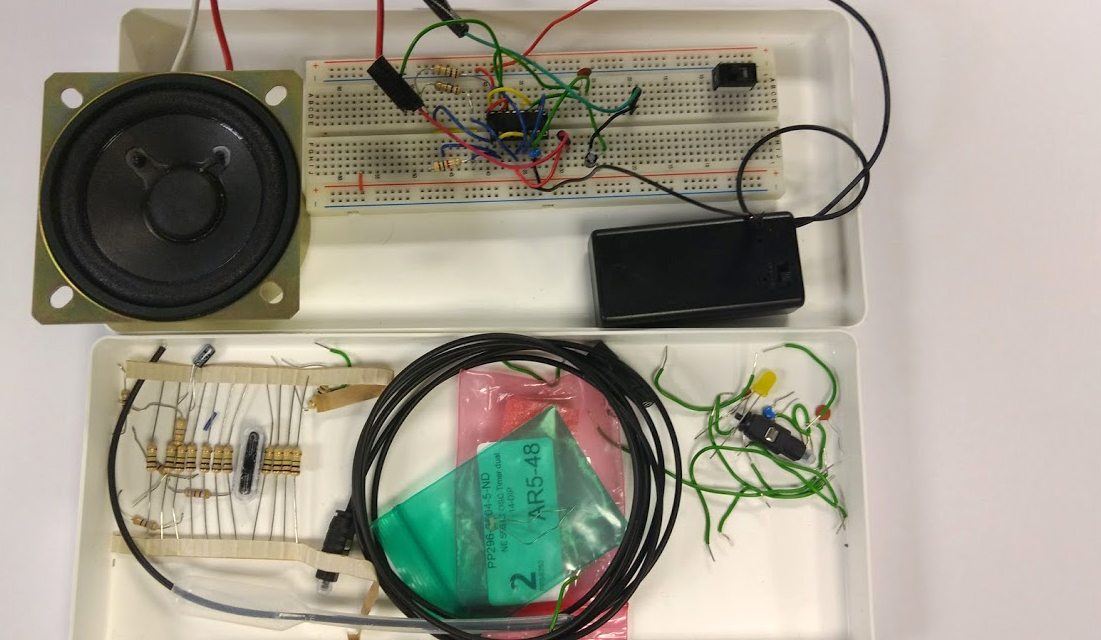
As you can see my first experiment was a bit of a jumble.
But with successive attempts and more reading, I started to adapt the circuit, streamlining the wiring and in the process, understanding more about circuits.

Its not finished yet by any means but I have now at least got some sound out of it.
I have now realised that the schematic is talking about variable resistors, not fixed resistors so I have ordered some trimmer potentiometers and will have another go once they have arrived.
UPDATE!
Success at last. I now have the Punk Pac working but couldn’t get the Forrest Mims schematic working despite redoing the circuit a further 2 times on the breadboard. At this point I found a very nice instructable version of the Atari Punk circuit with a great step-by-step tutorial and it worked first time.
So my plan now will be to compare the instructables version with the original Forrest Mims schematic and see if I can get some more interesting and strange sounds out of it.
Here is my latest breadboard version following the instructables version of the punk Pac. Its getting a bit more streamlined now.

Finally I am going to add the fibre optic cable so that I can alter the sound by interacting with different surfaces and put the whole thing in a nice little wooden box.
The fibre optic cable has been soldered according to Forrest Mims’ instructions and I now have a working prototype of the Punk Pac.
Here is a short test of the prototype.
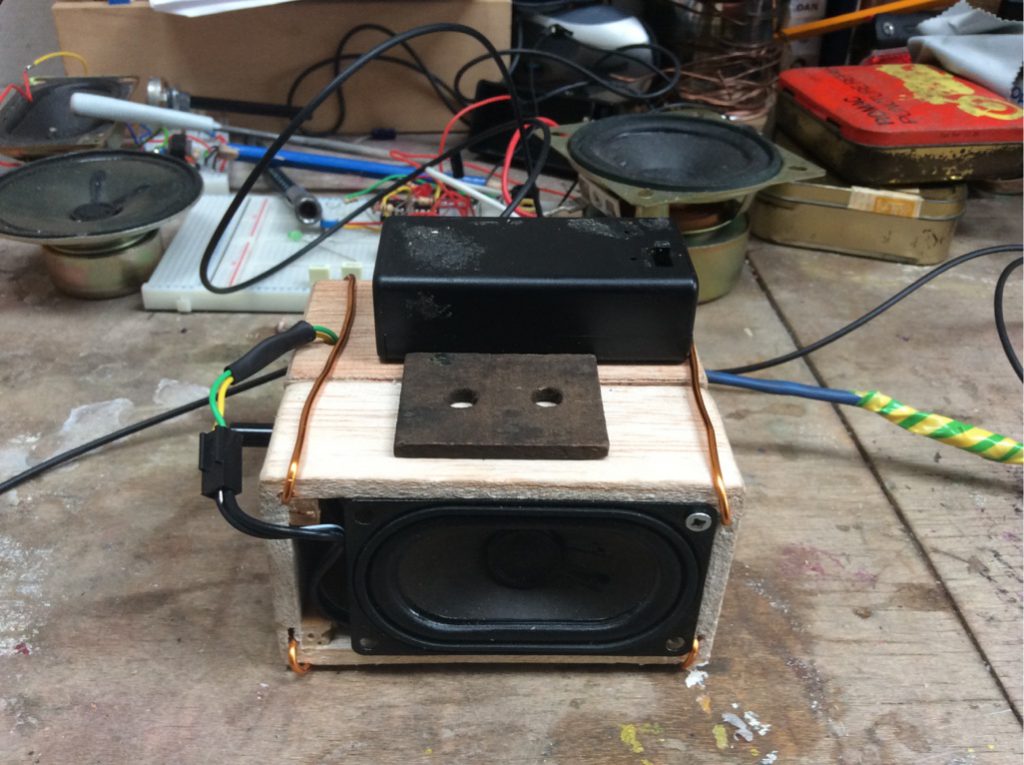
The next plan is to move the prototype to perfboard and fit it in this nice little wooden box.
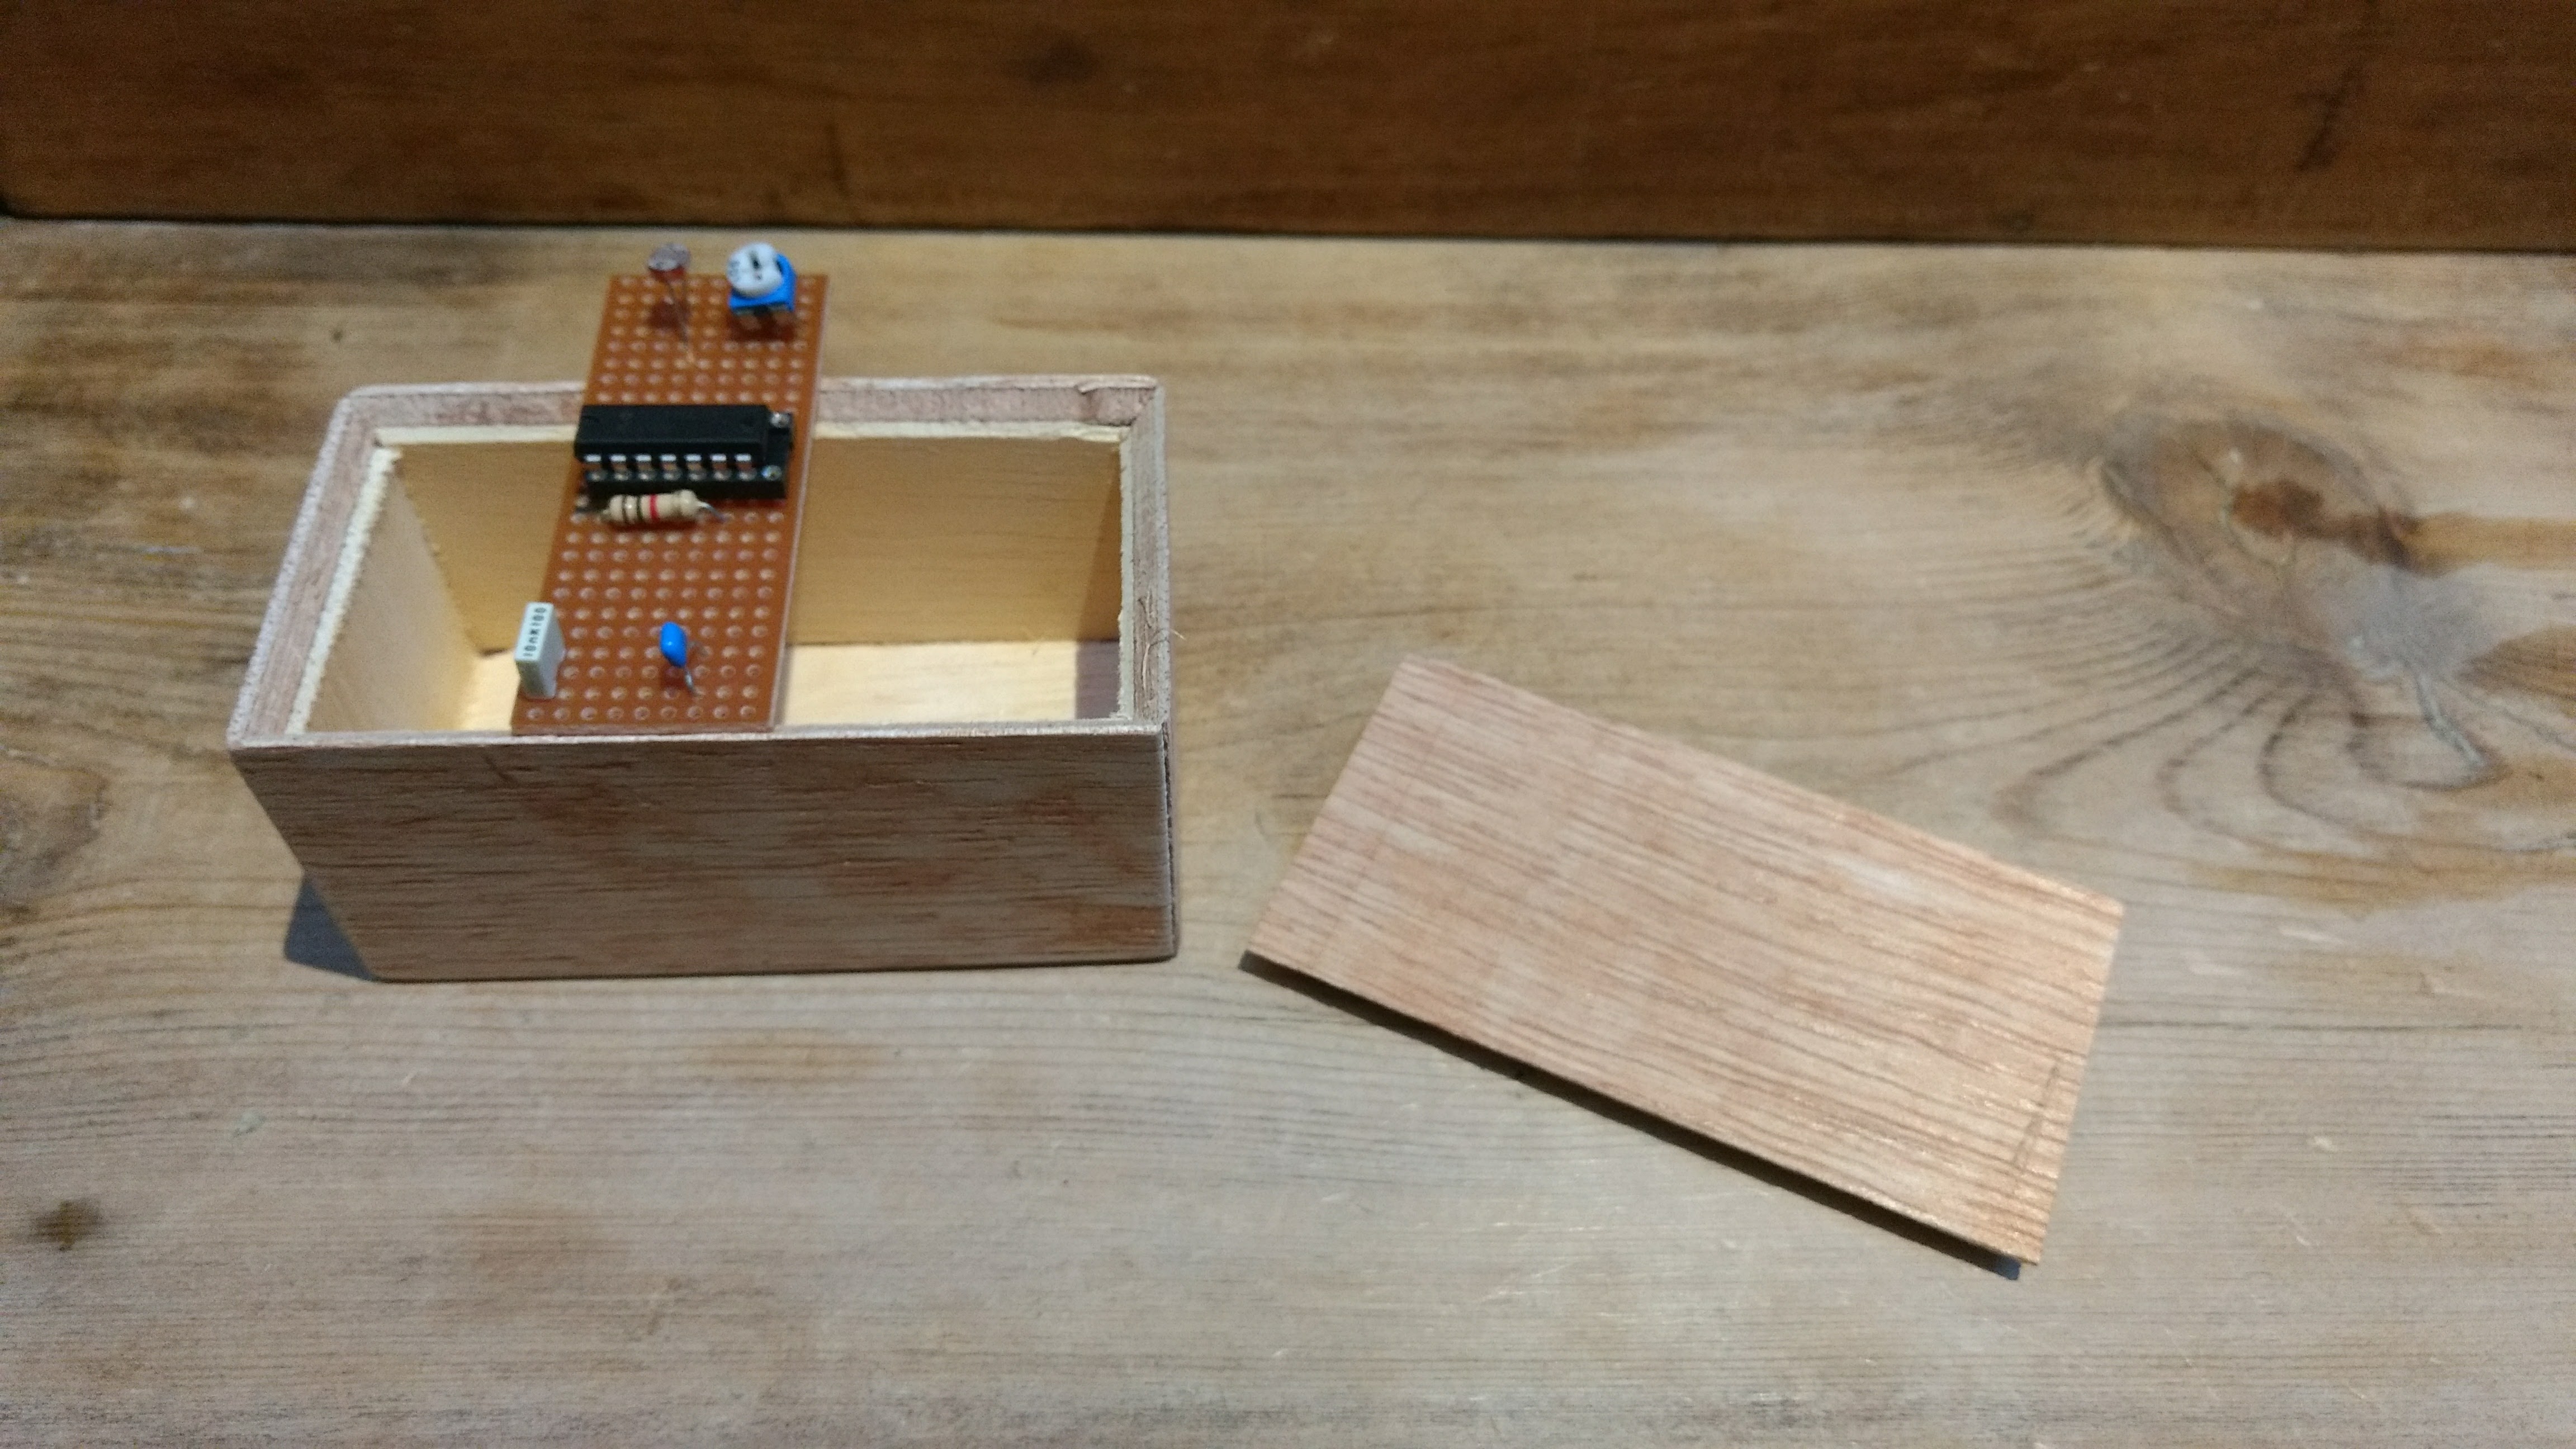
I have started the process of soldering components to some perfboard. I will upload some more images once I have a working light synth inside the box.

I rebuild the circuit on a breadboard again a couple of times just to refamiliarise myself with the plan and to keep removing more and more wire so that its easier to see what I am doing and the whole thing looks a little bit neater.

Soldering the Atari Punk Console onto the perfboard took a couple of goes to get right. Each time you solder, you build your confidence and after two non working versions which were somewhat frustrating, I at least felt more confident with my soldering ability.
Once I had persevered and checked and triple checked my soldering joints it was great to hear the reassuring clicks of the circuit come from the speaker.
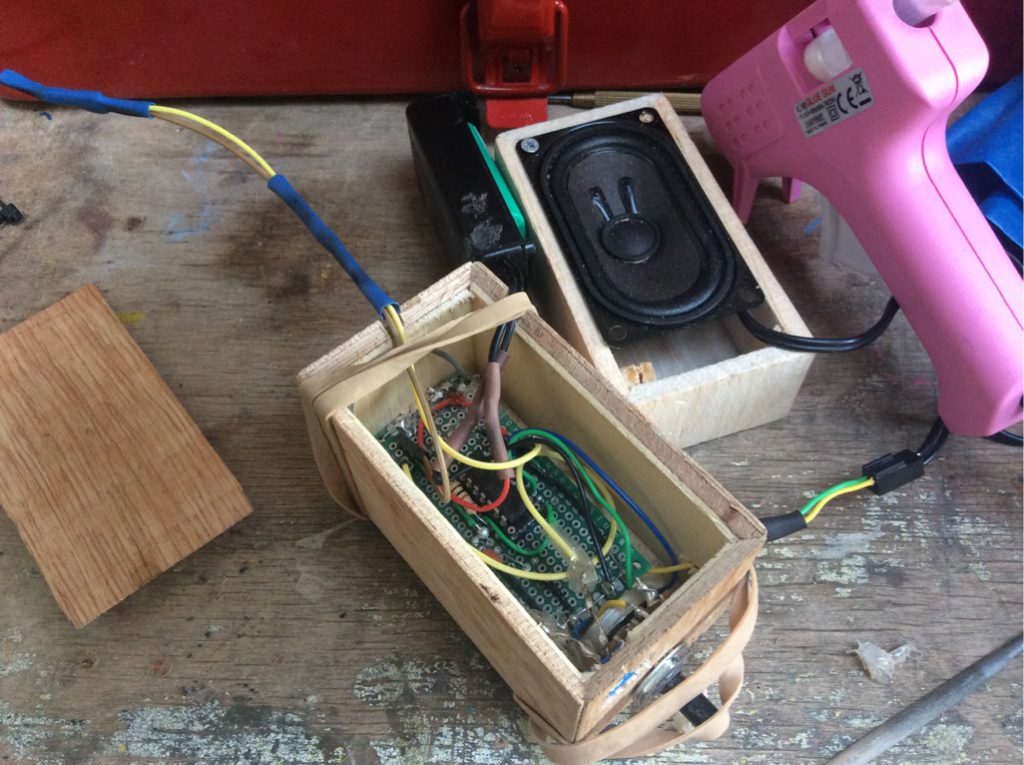
I needed to play around with the positioning of the circuit so that it would fit in the box, in the next prototype, I will build the circuit with a specific box in mind from the outset.
Once the circuit was inside the box, then came the interesting challenge of trying to put the circuit and speaker together in a unit that made sense, and would allow me to attach to a belt. This took quite a bit of tinkering and again in a future design, I think it would be best to have a very clear design in mind for the box so that the circuit just sits neatly inside and it should have suitable holes for the controls.
Here is a short video of the prototype in action.
Next for the big test, to take it outside and see how people react.


Leave A Comment
You must be logged in to post a comment.