

Google Cardboard allows you to get a great VR experience on a real budget. But I wanted to try and build a steampunk prototype of the viewer which allows for better focal length adjustment.
The project is being adapted from the standard Google Cardboard template
The prototype consists of 3 wooden panels. You slip a suitable smart phone with the Google Cardboard app installed between two of them and adjust focal length with wing nuts at the front of the device.
I have been playing around with Google Cardboard for a little while and started off just grabbing some cardboard from a box, cutting it to size using Google’s own instructions.
Then I assembled the prototype after a little difficulty, due mainly to the thickness of the cardboard, added the lenses and the magnet, downloaded the software to my android phone and bob’s your uncle, it worked.
As you can see from the image below I am in VR heaven, but feeling a little queasy at this point due perhaps to the distance of the lenses or maybe the focal length or angle of the lenses being a little off.

A friend bought the official package and he noticed the same nausea inducing viewing experience. I think we can do something about this. Time for prototype mkII .
So far I have cut out the viewer in plywood from a paper template and the plan this time is to produce a steampunk style adjustable google cardboard viewer.

I started by cutting the wood pieces based on the basic cardboard template. The side housing parts of the cardboard template are not needed as I am going to build my own custom housing but I needed to get the right viewer size so have cut out 2 viewers and another to allow for the camera on the smart phone to be able to view the outside world. (Will be useful when I eventually get around to building an augmented reality app for Google Cardboard . . Ha Ha!)
I have just realised at this point that I have cut out 2 viewers. A quick look at prototype mk1 shows me that the smart phone camera needs to have a hole in a different position to the view above. Oh well, it can be a spare. I will need to cut out the correct template to go with the viewer but hey ho.
As you can see, I still have to cut out one of the viewers to show the whole screen but I have started to assemble the device to check sizes and I have now started to thread the brass rods with an M4 die. I have cut the thread quite far down the rod because it might be needed to get the correct adjustment on the focal length. Google Cardboard works at a 45mm focal length and I am hoping that I have cut the thread correctly. If not, I can simply recut it.

I have now added a thread to all 4 rods, ordered and received brass wing nuts and I am ready to move on to the next stage.
First I acquired some copper tensile wire to make springs for each rod so that the correct focal length can be achieved. I also glued leather to the inside of two of the panels so that I could then mount the android phone in the device without it slipping out.

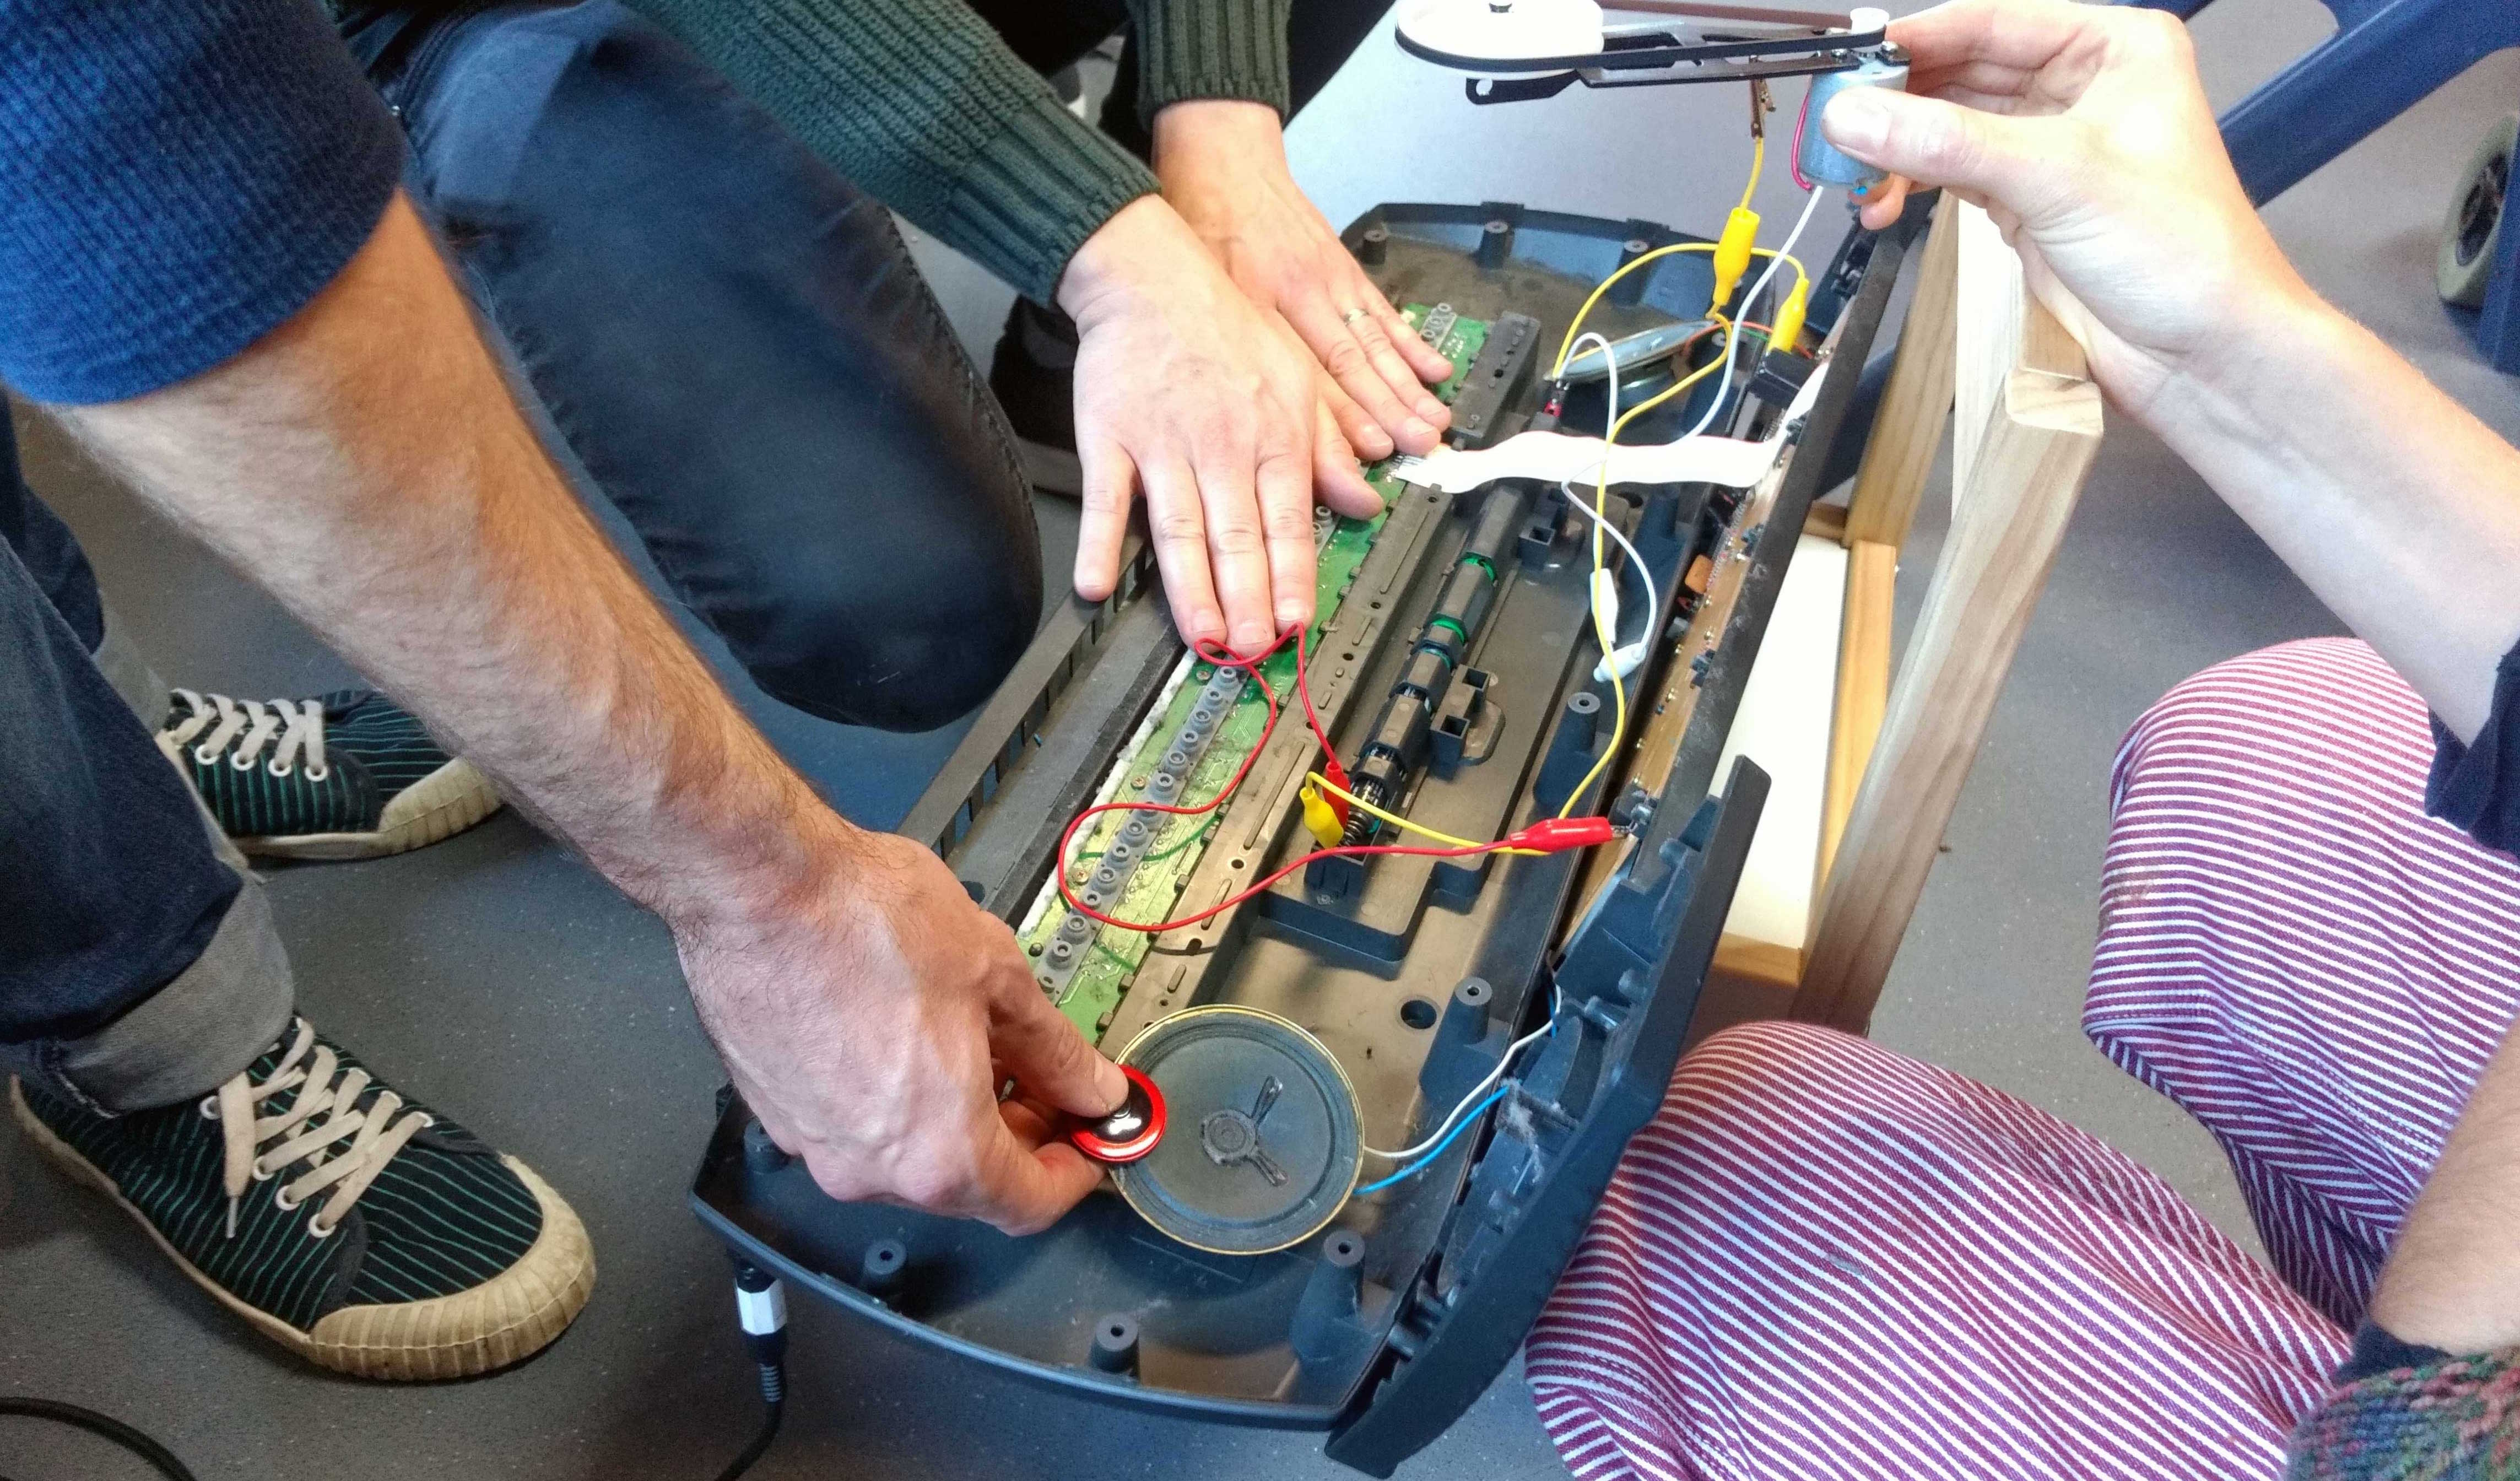
Then I joined the whole thing together to check that everything assembled correctly
Amazingly it worked quite well first time.
It needed quite a bit of adjustment to get the right focal length. The holes needed to be made a little larger so that you can move the plates easily.
Next steps
- Stain the wood, to give it a nice antique feel
- Add some brass elements
- Add some photographer’s bellows
- Add a section to comfortably wear the device and attach a strap so that you can walk around with it
Its taken a while to find time to continue with the prototype but I have now had a chance to move on with the prototype a bit.
First, staining the wood. I first considered, after looking around online, to use coffee grounds to stain the wood and then thought Soy sauce might work. I asked my friend who has helped me so far with the prototype, and he suggested using wood stain made from crushed walnut husks, known as Brou de Noix. I tried it with a brush and it was very easy (and more importantly, non-toxic) to stain the wood and get a more antique feel. It didn’t come out mahogany but a rather nice, well walnuty shade.

Then I decided to tackle the photographer’s bellows. I was a bit daunted by this task, not sure why. I used the general technique from the following instructable, Bellows for a large format camera. I have made two lots of bellows now but I think I need to repeat the process to get smoother bellows. I think because I put the tape on the inside of the bellows, the edges look too rough. If you put the tape on the outside and the folds on the inside you get a smoother more professional finish.

Next I added some brass adornments. I used a hole punch to create brass lens holders for the lenses and although I haven’t done this yet I am going to add the same brass housing to the camera viewer hole on the far side of the device.

As you can see now the prototype is starting to take shape. The next part of the plan is to add something to strap the device to my head, some nice steampunk goggles. This needs some thought so hopefully soon, I will have an update and we can finally take it out for a spin.
In order to make some googles, I managed to find an existing steampunk goggle from a discarded pair of steampunk googles, so I thought the best thing was to take it apart and work out how it was made.

Once I had examined it, I sources some parts which consisted of some brass sheeting that I also used for the rims around the lenses, and some tin lids from spice pots. I also had some bits of leather lying around so got someone to sew along the seem of the leather whilst having a nice bendy wire inside. This would allow me to make the right shape for the goggle pieces.

Then I started to drill holes in the tin lids, brass and the leather pieces to fix the goggle together in the right shape. It was a bit of trial and error but once I had made all the holes, I then used a trusty riveting gun to secure the whole goggle together.

The result is a bit rough around the edges but perfectly usable for the prototype. I have now made one goggle and have secured it to the viewer. The results are quite effective.

I have now added the straps. I originally didn’t want the same kind of straps that you might see on your average VR viewer but I needed some stability and adjustment to make sure that the device would stay on your head. So my straps aren’t as elegant as I would like but currently it does the job. Next I will set about refining the bellows and adding some final touches.


Leave A Comment
You must be logged in to post a comment.